")
")

Step-by-step E-Mail configuration for iPhone and iPad.
If you have created an E-Mail address in the Control Panel, you can configure this account on your iPhone/iPad.
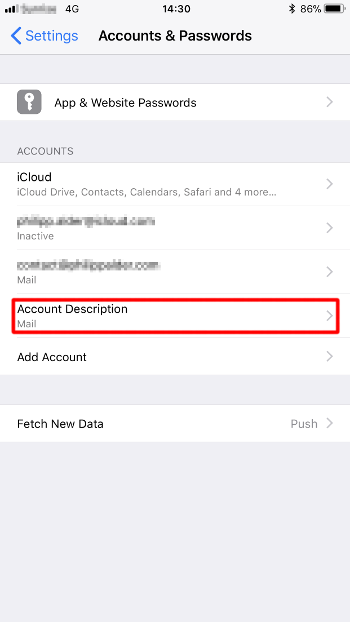
E-Mail account administration
Open «Settings».
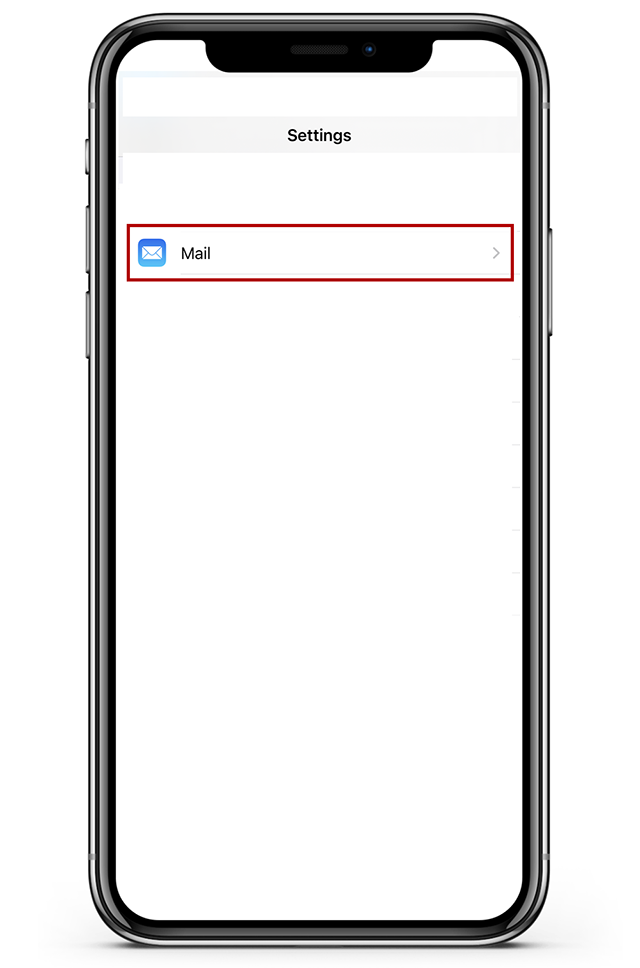
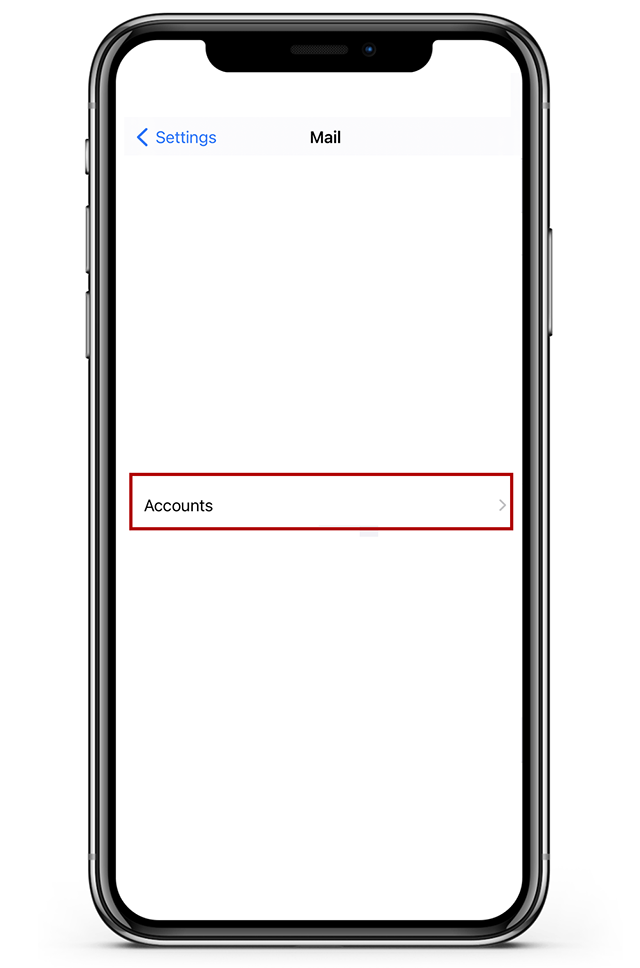
Then go to «Mail» and «Accounts».
Adding an E-Mail account
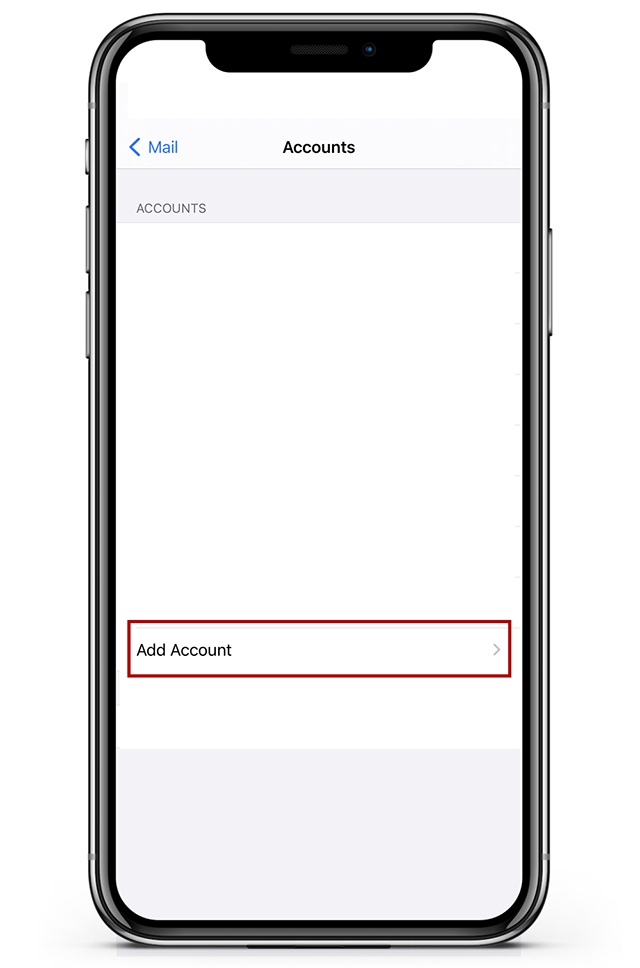
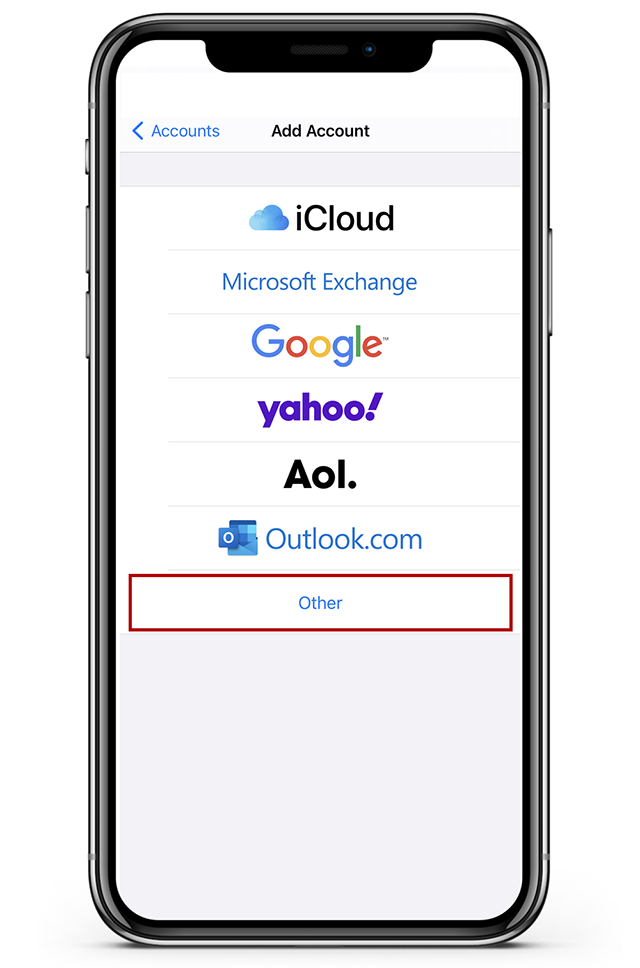
Now select «Add Account» to start the setup wizard.
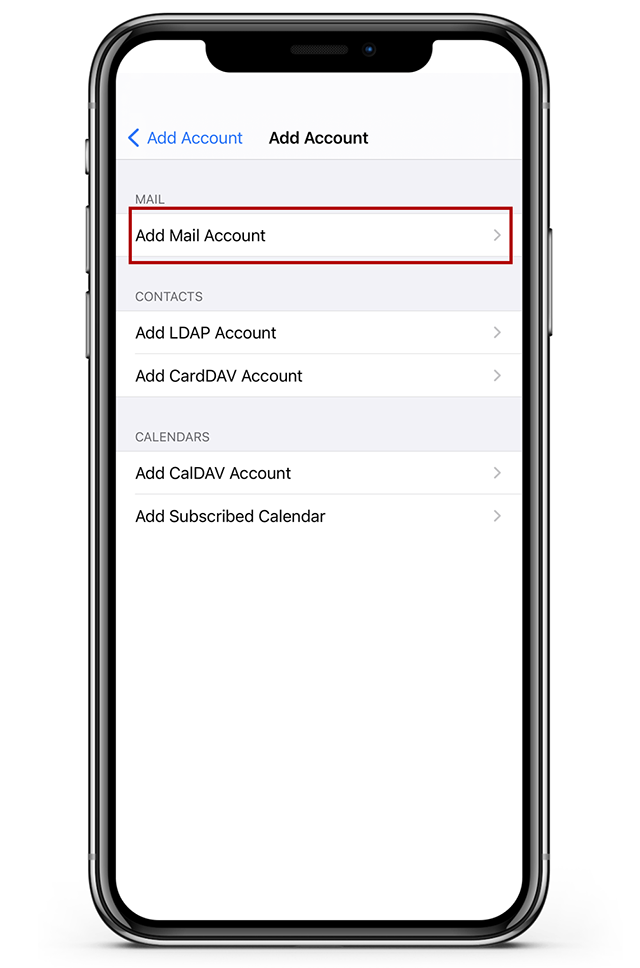
Next, choose «Other» at the bottom of the list and then «Add Mail Account».
Configuration
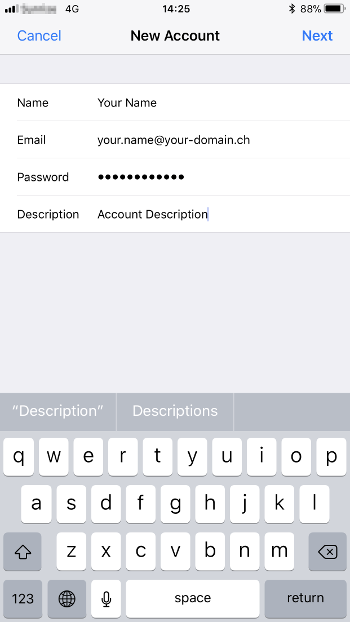
Enter your name for the new account. This is also the name recipients will see when you send them an E-Mail.
Enter your full E-Mail address and the corresponding password, that you defined in the Control Panel when setting up the E-Mail address. Select «Manual setup».
Then enter a name for this account. This name will be displayed in the account list.
Choosing the account type: POP3 or IMAP
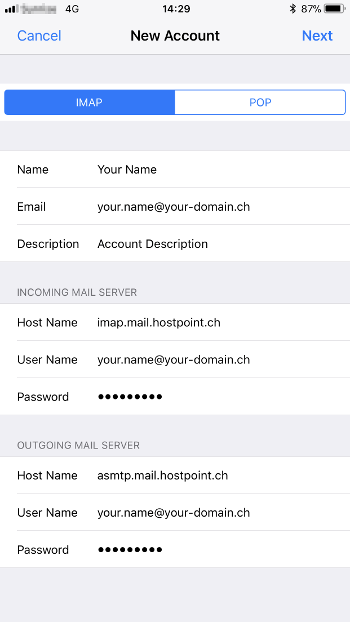
Now choose between a POP3 or IMAP account.
- IMAP
- Using IMAP saves your E-Mails on the server. Each time you read an E-Mail, a copy is downloaded from the server.
- POP3
- Using POP3 downloads and saves your E-Mails to your smartphone. The messages are then deleted from the server. This way, you can also read your E-Mails offline at any time, for example if you are on the train.
If you are not certain choose IMAP.
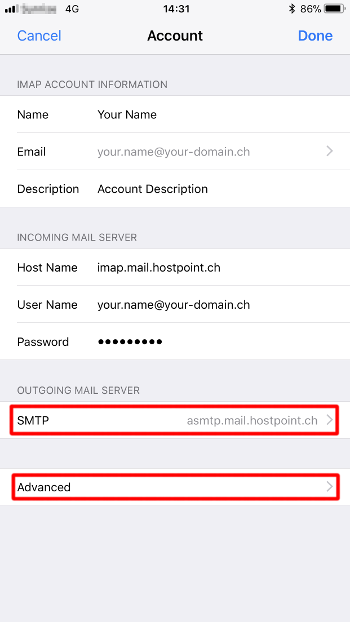
IMAP
Enter the full E-Mail address in «User Name» and the corresponding password in the field below.
Enter imap.mail.hostpoint.ch as IMAP server.
POP3
Enter the full E-Mail address in «User Name» and the corresponding password in the field below.
Enter pop.mail.hostpoint.ch as POP3 server.
Outgoing mail server
Enter asmtp.mail.hostpoint.ch as SMTP server.
Enter the full E-Mail address in «User Name» and the corresponding password in the field below.
This is mandatory, otherwise SMTP authentication will not work and you will not be able to send E-Mails.
Finish
Once you have filled in the correct information for all fields, you can check the settings by clicking «Continue». Then click on «Save» to finish setting up the E-Mail address.
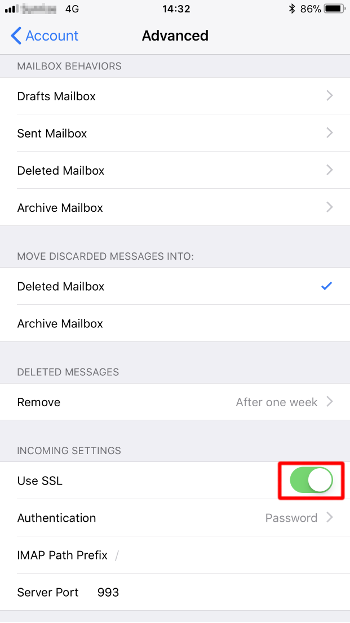
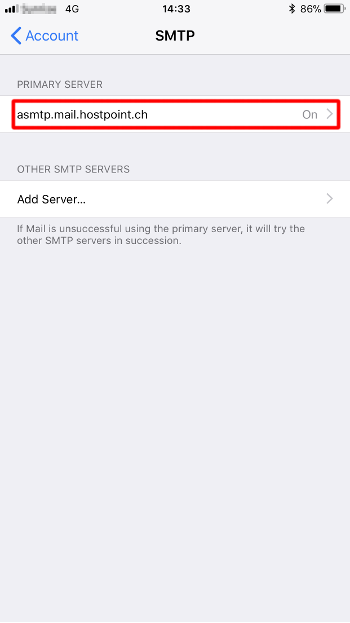
Encryption
Open the account you just created. Select «SMTP» and then «Advanced».
Go to «Advanced» and check the encryption settings for the incoming mail server:
| Account- and connection type | Port |
|---|---|
| IMAP with SSL | 993 |
| IMAP without SSL / with TLS | 143 |
| POP3 with SSL | 995 |
| POP3 without SSL / with TLS | 110 |
| SMTP with SSL | 465 |
| SMTP without SSL / with TLS | 587 |
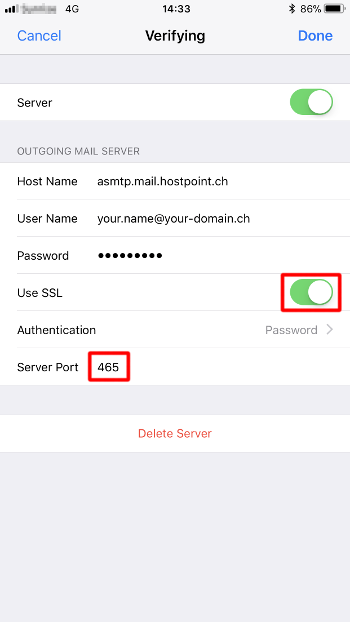
Go to «SMTP» and check the encryption settings for the outgoing mail server:
| Account- and connection type | Port |
|---|---|
| SMTP with SSL | 465 |
| SMTP without SSL / with TLS | 587 |
For support requests please use this form instead.