")
")

This article provides you an overview of the first steps in setting up your Hostpoint Webshop.
Registration
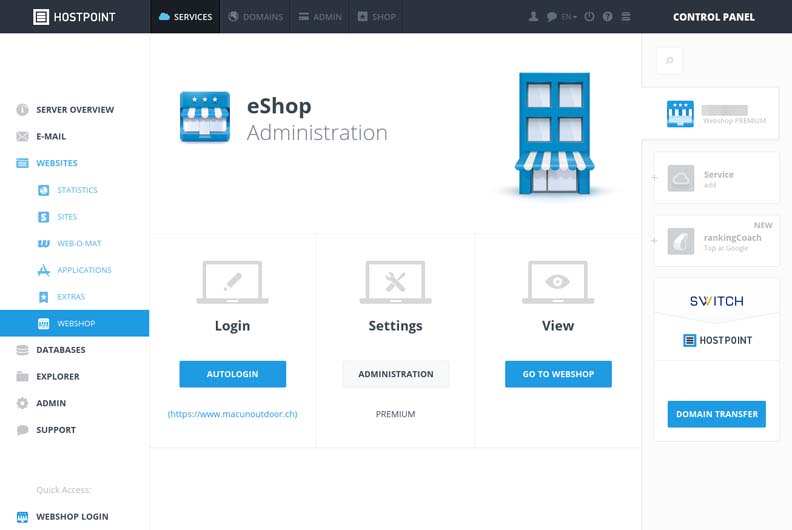
To register at your new shop – to be able to administer it – first log into the Hostpoint Control Panel.
Now go to «Websites» and then, on the left side, to «Webshop».
Go to «Login» and click «Auto-login». You will then be directed to the administration section of your new shop.
Setup Assistant
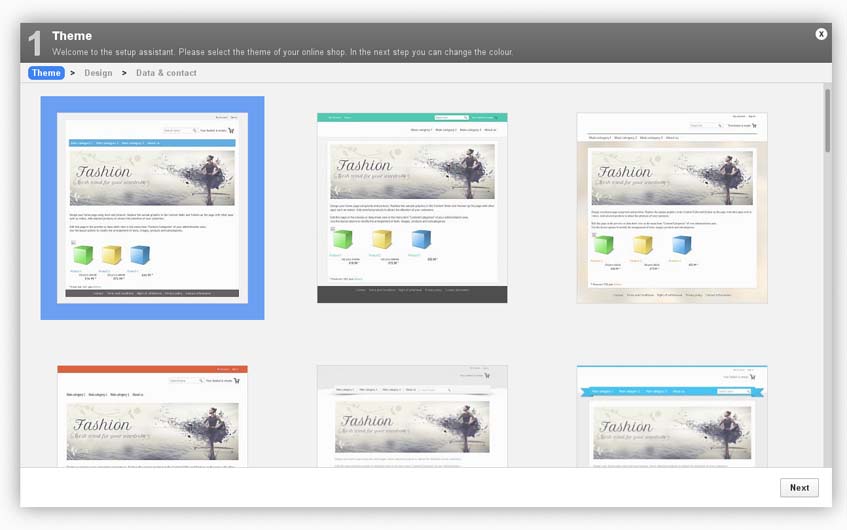
Before you are able to really get started with your shop, you have to work through the setup assistant.
With the help of the assistant, you can choose a shop design and enter data, such as your company name and address. This data may be changed at a later time, but you should enter all information correctly if possible.
System Settings
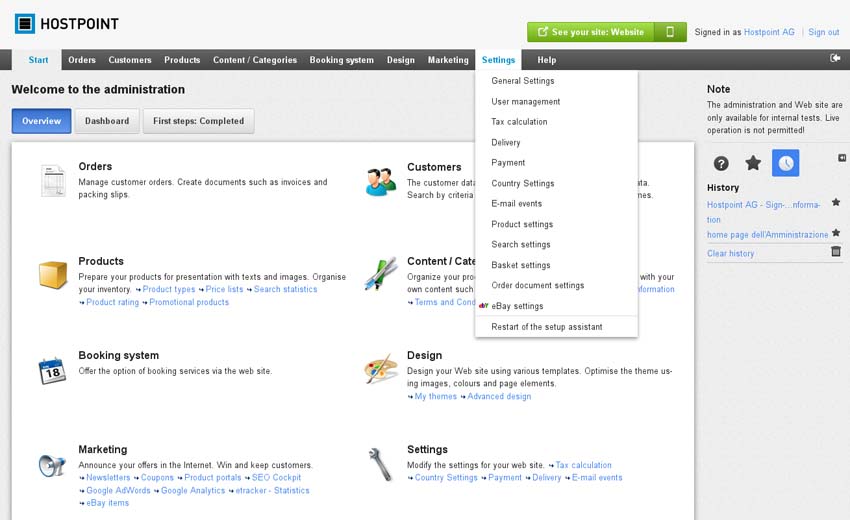
You have the option of changing your settings at any time. Nevertheless, it is advisable to set the most important preferences before you start building your shop, entering products, and configuring other settings.
You can access your settings through the «Preferences» menu in the navigation bar on top of the page. Select the desired language(s), currencies and countries under «Country Settings». You can determine which payment and shipping methods you want to offer in your shop under «Shipping» and «Payment». You can then select the e-mails you want to send out (e.g. order confirmations, etc.) under «E-mail events» and enter the individual e-mail texts.
Design
You have different options for customizing the design of your shop depending on the shop product you have chosen (LIMITED, ESSENTIAL, PREMIUM or ULTIMATE).
Through the «Content / Categories» menu, you can access the «Content preview». The preview enables you to get a first impression of your shop, to display and change the page structure, and to edit individual page content.
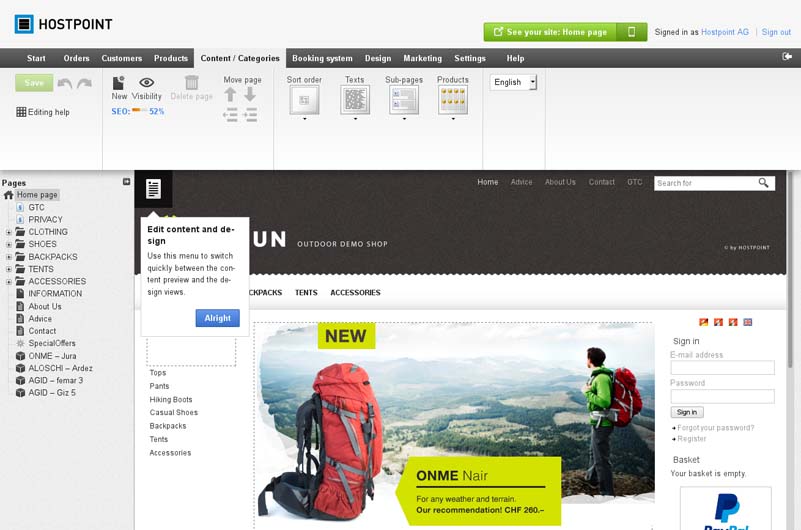
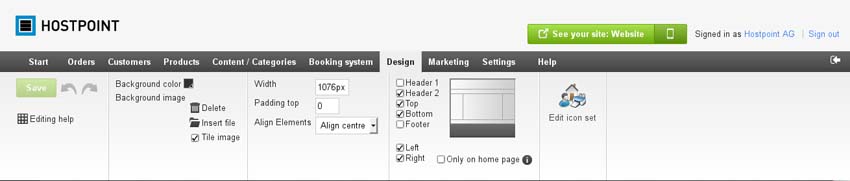
Through the «Design» menu, you can access the quick design features.
ESSENTIAL, PREMIUM and ULTIMATE Webshop owners can also access «Enhanced Design» functions.
Here you can customize your shop colors, arrange page elements as you desire, and delete or add elements.
Products
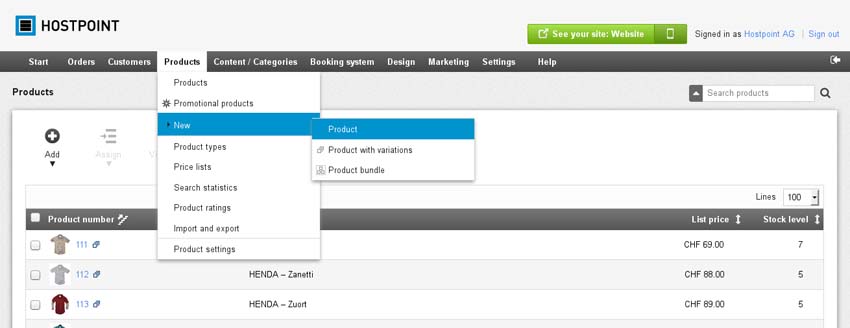
To enter your first product into your shop, go to the menu item «Products», select «New» and then «Product».
This will bring you directly to the form for entering new products. Here you can define article numbers and determine prices (in selected currencies).
You also have the option of writing a descriptive text and assigning other attributes to your product.
You can edit your products at any time after saving; for example, if you want to add pictures, change prices, or temporarily remove a product from the shop.
Help
Help function in the webshop
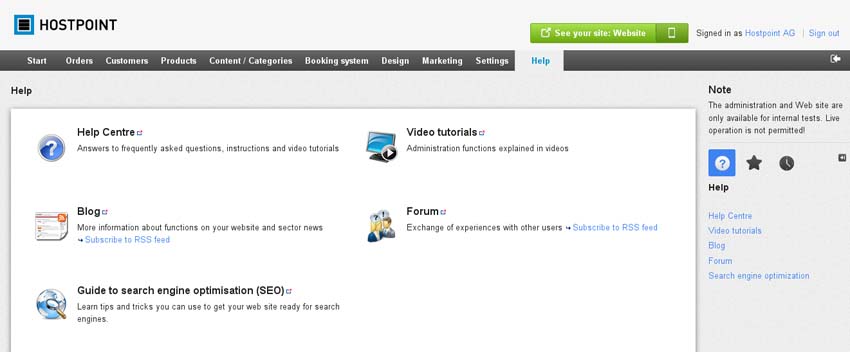
In addition to this short introduction, you can get more help regarding individual functions and options for your shop through the «Help» feature located in the column on the right of your shop administration page.
Hostpoint Support
As usual, you can also call the Hostpoint Support Hotline at 0844 040404 (local rate, Monday to Sunday 8am to 6pm) or ask for support by E-Mail
For support requests please use this form instead.