Cloud Office Mobility enables customers to synchronize the data they previously stored in the Cloud Office web application with their smartphones.
Supported versions
The following Android versions are supported:
- Android 4.1 and the following versions
Backup
The manufacturer and Hostpoint recommends that you back up all files before setting up the Cloud Office Mobility account.
Add Account
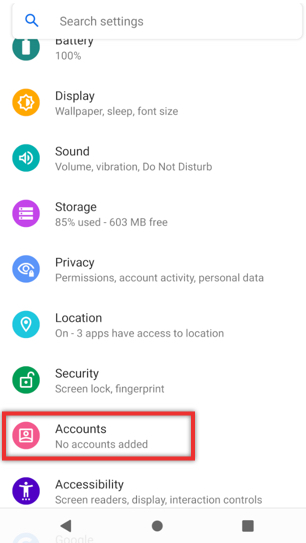
Go to the «Settings» > «Accounts» menu.
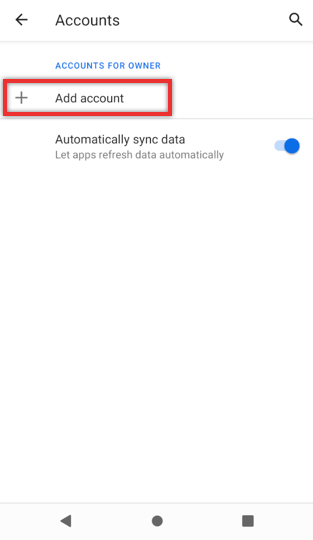
Click on «Add account».
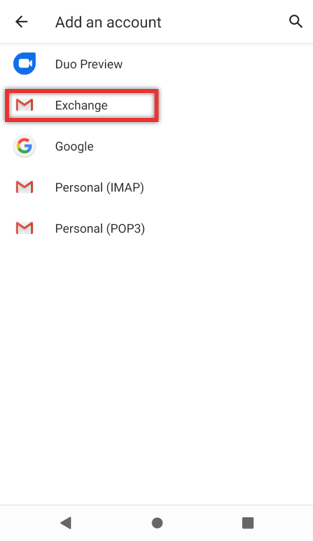
Select «Exchange».
Personal data
The following data is required for the setup:
| Your personal account in Cloud Office Premium | |
| Server | office.hostpoint.ch |
| Domain\Username | This field merely contains the domain name and the username (localpart), seperated with a backslash. Example: your-own-domain.ch\your.name |
| Password | Enter the password for your E-Mail address here |
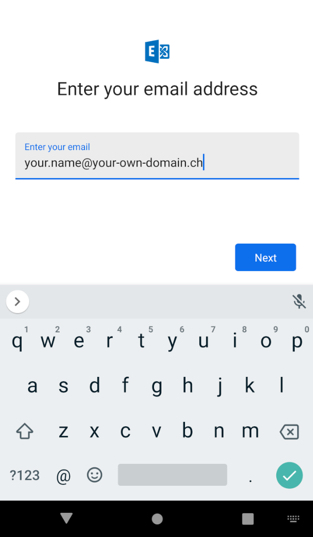
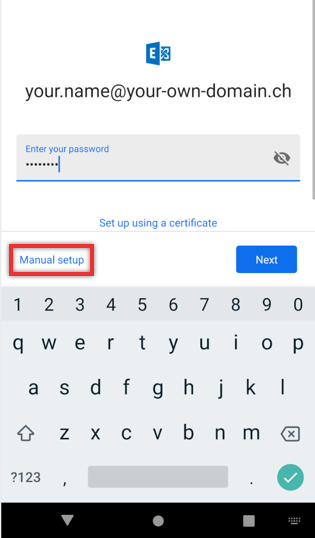
Enter your E-Mail adress.
Enter the password for your E-Mail address and then click on «Manual setup».
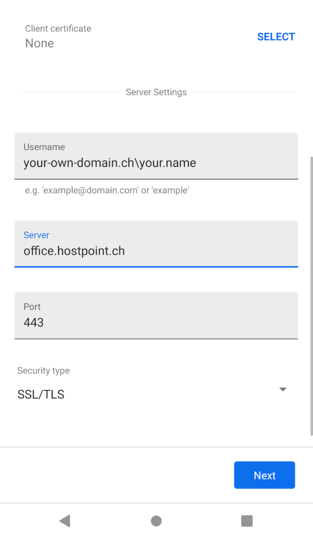
Enter the domain name under «Username» and then separate the user name (local part, ie the part before the @ in your E-Mail address) separated by a backslash. Example: your-own-domain.ch\your.name
Enter «office.hostpoint.ch» as server.
Select «SSL/TLS» for the security type, since communication is only possible via a secure connection. Then click «Next».
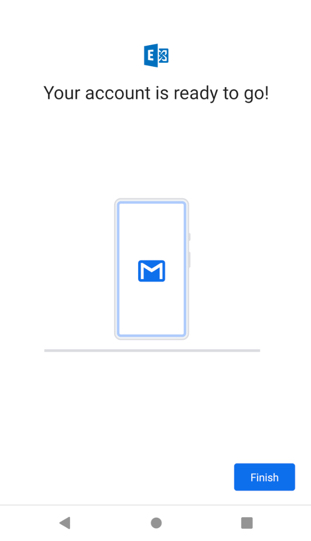
Click on «Done» to complete the setup.
Synchronizing
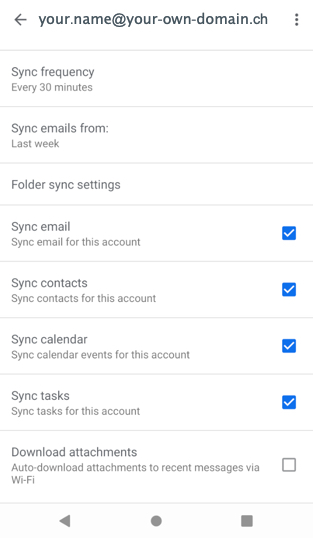
To set which data should be synchronized with Cloud Office Mobility, go to Settings in the menu:

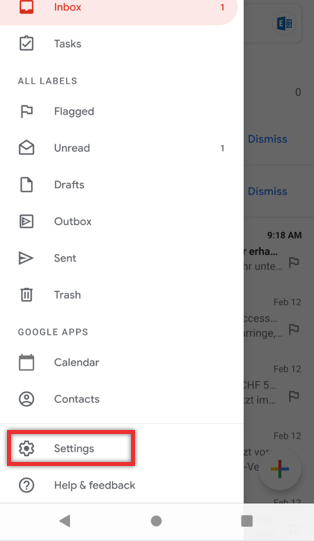
Click on your newly created account.
Here you can also specify the time period how long back the data should be synchronized.
For support requests please use this form instead.


