")
")

Step-by-step instructions for configuring your E-Mail account in Apple Mail.
If you have created an E-Mail address in the Control Panel, you can configure this account in your Apple Mail.
E-Mail account administration
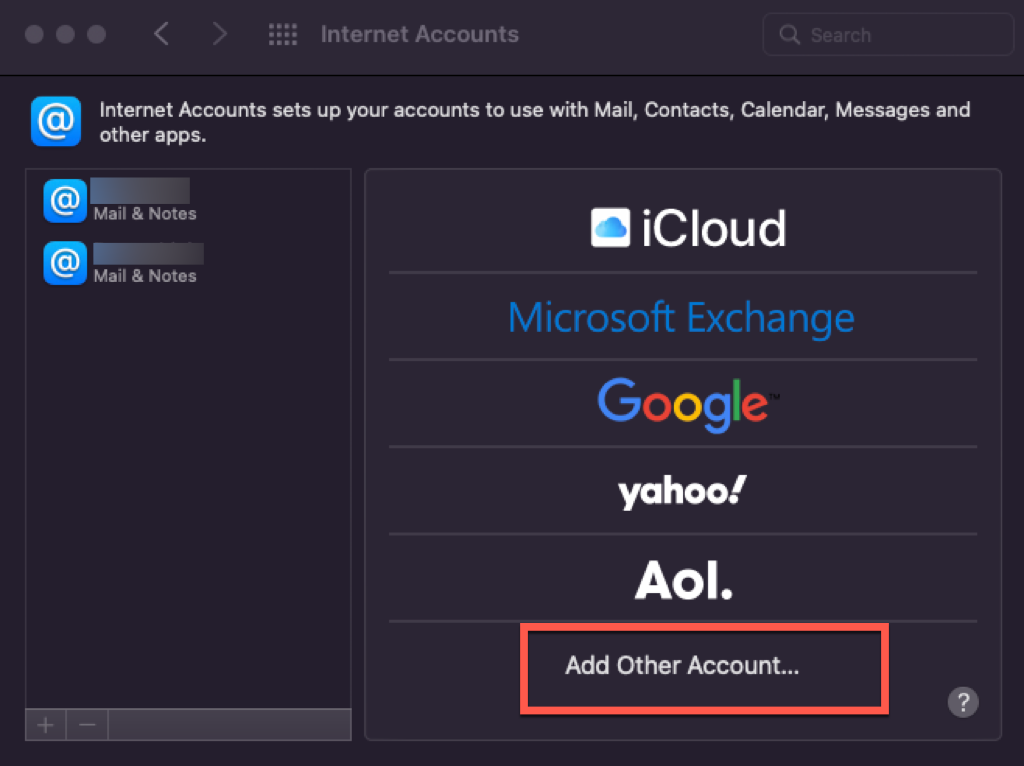
Click «Mail» and then select «Accounts» from the File menu to manage your E-Mail accounts. Select «Add Account».
Configuration
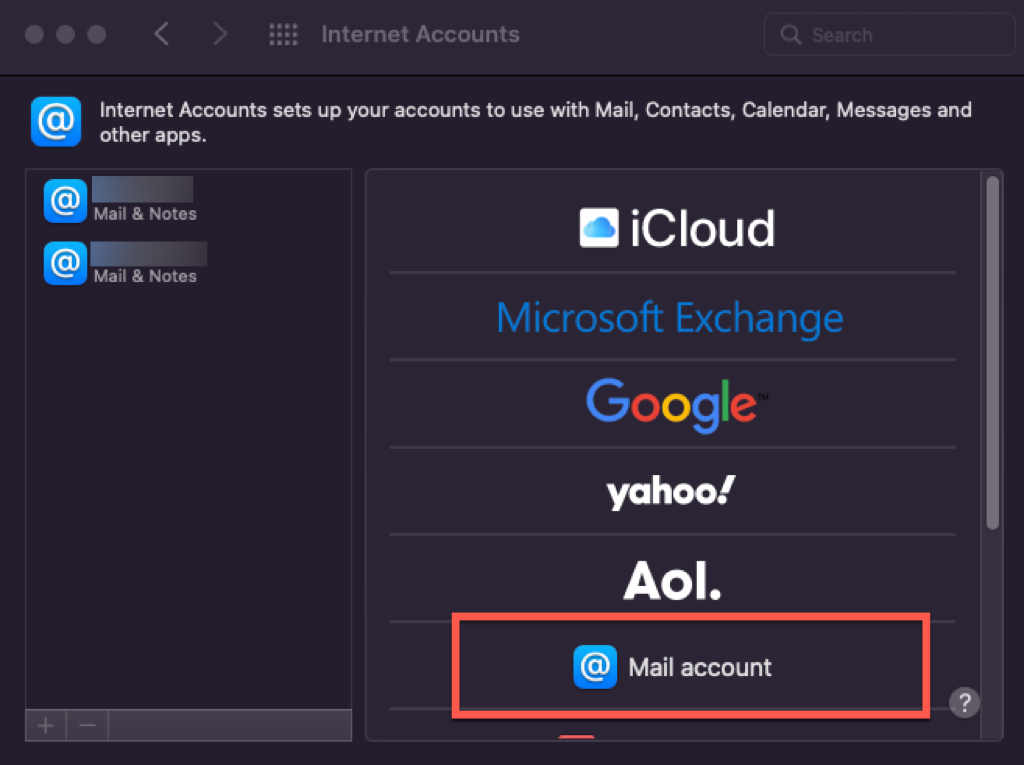
Select «New Account» and proceed through the steps.
First enter a name for this account. This name will be displayed in the account list.
Enter your full E-Mail address and the corresponding password in the field below.
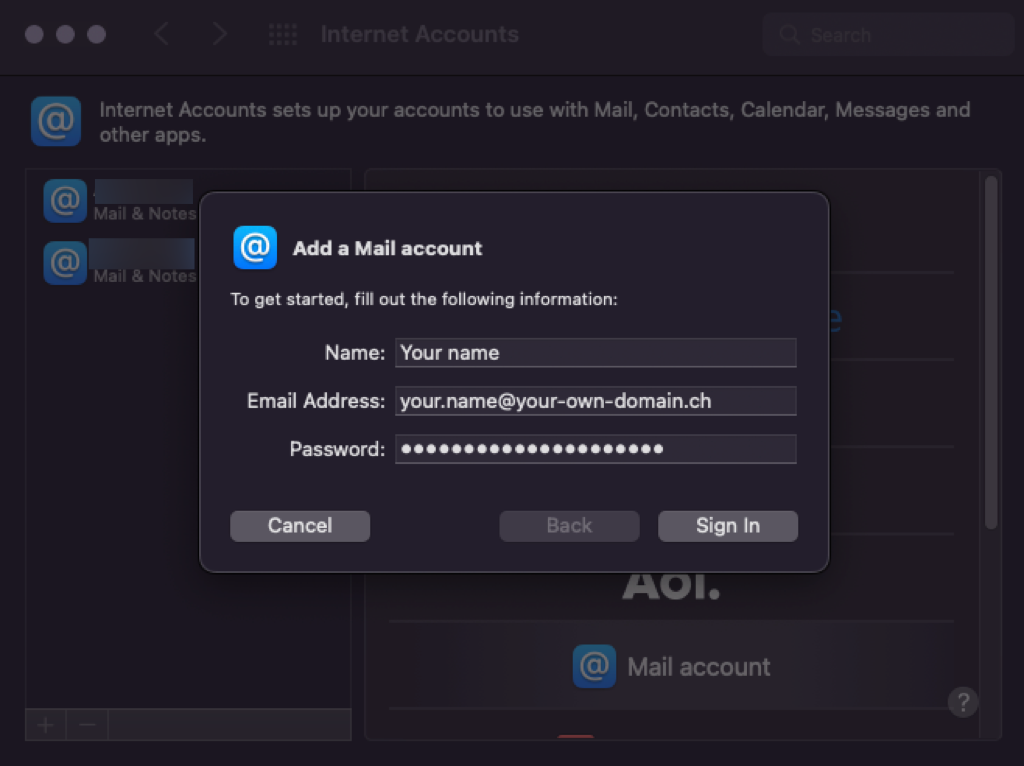
After that click «Sign In».
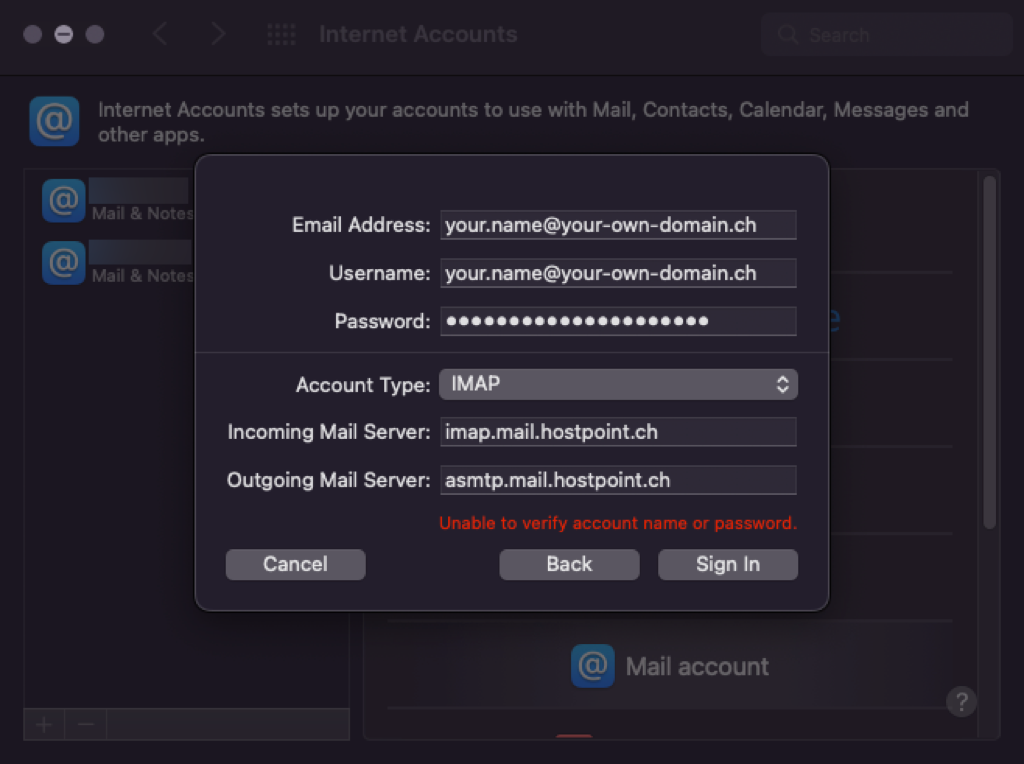
Usually the error message "Account name/password could not be verified" now appears.
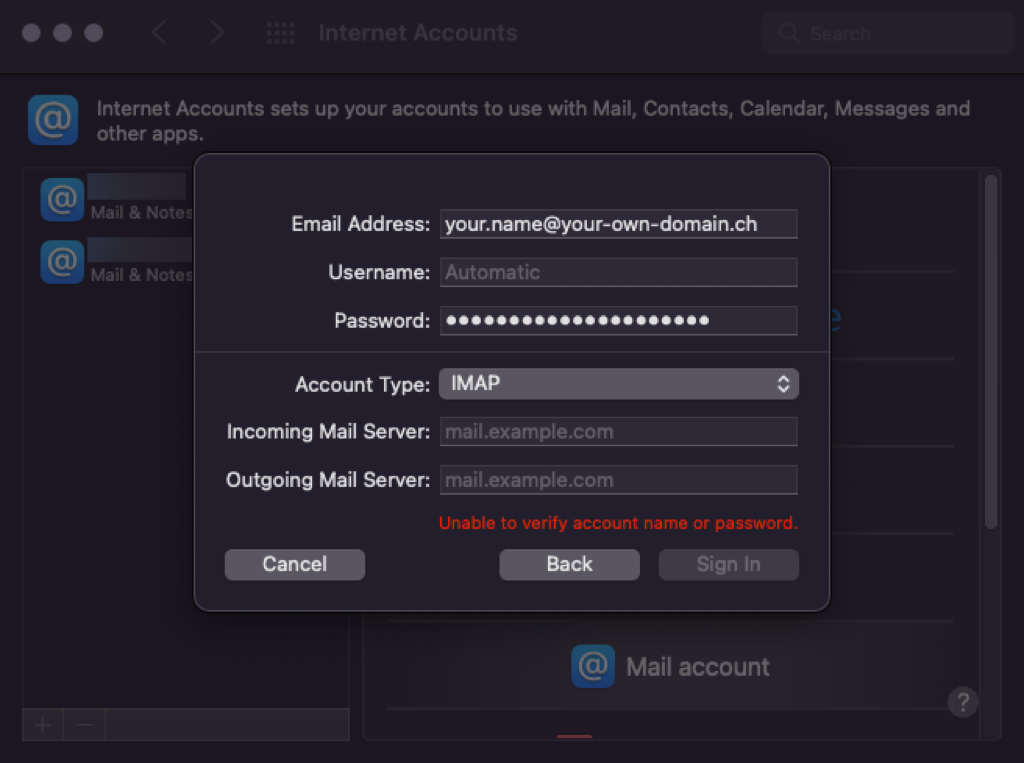
Enter the full E-Mail address in «User Name» and the corresponding password in the field below.
Enter the full E-Mail address in «User Name» and the corresponding password in the field below.
Account Type: IMAP or POP
If you are not certain choose IMAP.
Enter imap.mail.hostpoint.ch as Incoming Mail Server for account type IMAP or pop.mail.hostpoint.ch for account type POP3.
Enter asmtp.mail.hostpoint.ch as «Outgoing Mail Server».
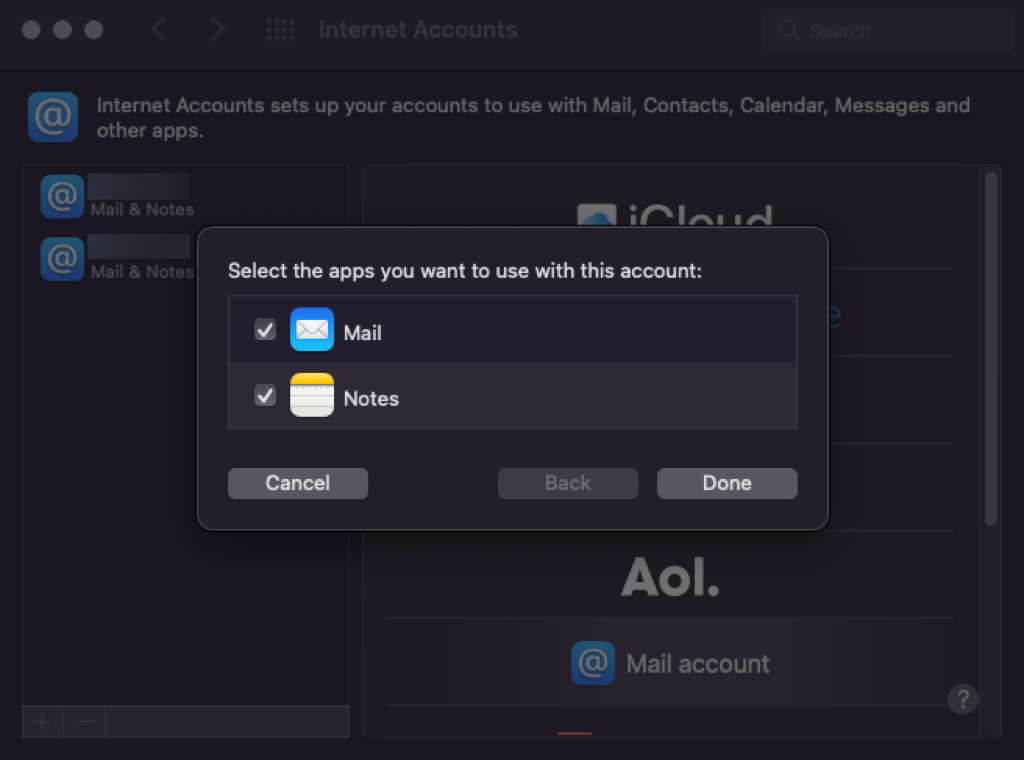
Finish
Click «Sign In» to set up your account and then «Continue» to complete the setup process.
Optional configuration
Also check whether the correct port is entered in the settings (Mail > Settings > Accounts > Server settings):
| Account- and connection type | Port |
|---|---|
| IMAP with SSL | 993 |
| IMAP without SSL / mit TLS | 143 |
| POP3 with SSL | 995 |
| POP3 without SSL / mit TLS | 110 |
| Account- and connection type | Port |
|---|---|
| SMTP with SSL | 465 |
| SMTP without SSL / mit TLS | 587 |
For support requests please use this form instead.