")
")

Your data at Hostpoint will be automatically backed up regularly and, depending on the product, will be kept for up to 180 days. You can pay for an emergency restore at any time within this time frame. Nevertheless, we recommend that you also make a backup yourself by regularly creating backups in the Hostpoint Control Panel. Server and database backups are done separately.
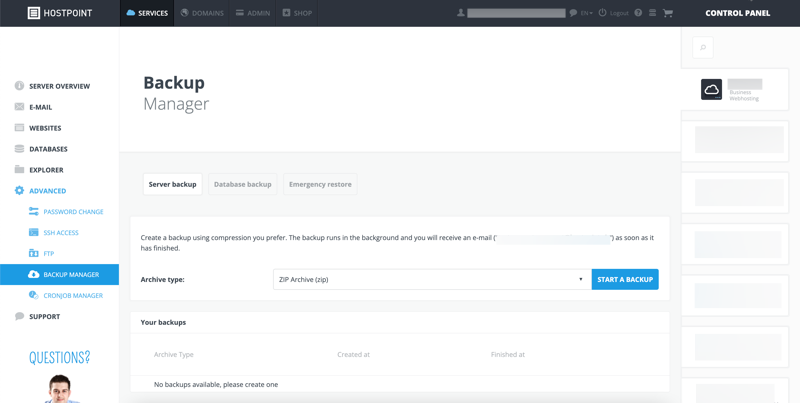
Server backup
- Log into the Hostpoint Control Panel.
- Open your web hosting or server.
- In the left menu, click “Advanced” > “Backup Manager” > “Server backup”.
- Select the desired archive type (ZIP or TAR).
- Click on “Start a backup”.
→ The server backup is created in the background. As soon as the backup is ready, you will be notified by e-mail. You will then have 24 hours to download the backup. After that, the backup will be deleted from our servers.
Info: Note: The server backup contains all the files on your server, but not the databases.
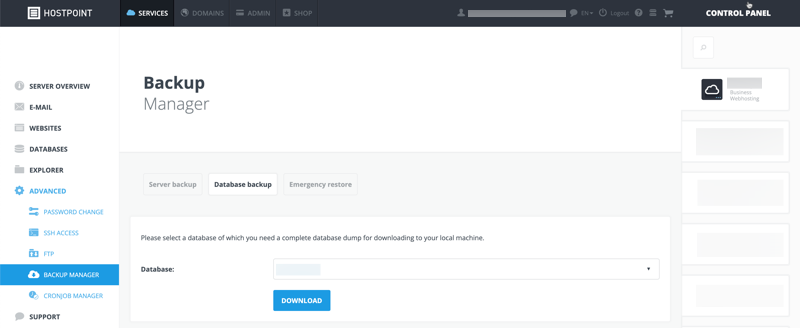
Database backup
- Log into the Hostpoint Control Panel.
- Open your web hosting or server.
- Click on “Advanced” > “Backup Manager” > “Database backup” in the left menu.
- Select the database that you wish to create a backup of.
- Click on “Download”.
→ The backup of the database is created and downloaded directly.
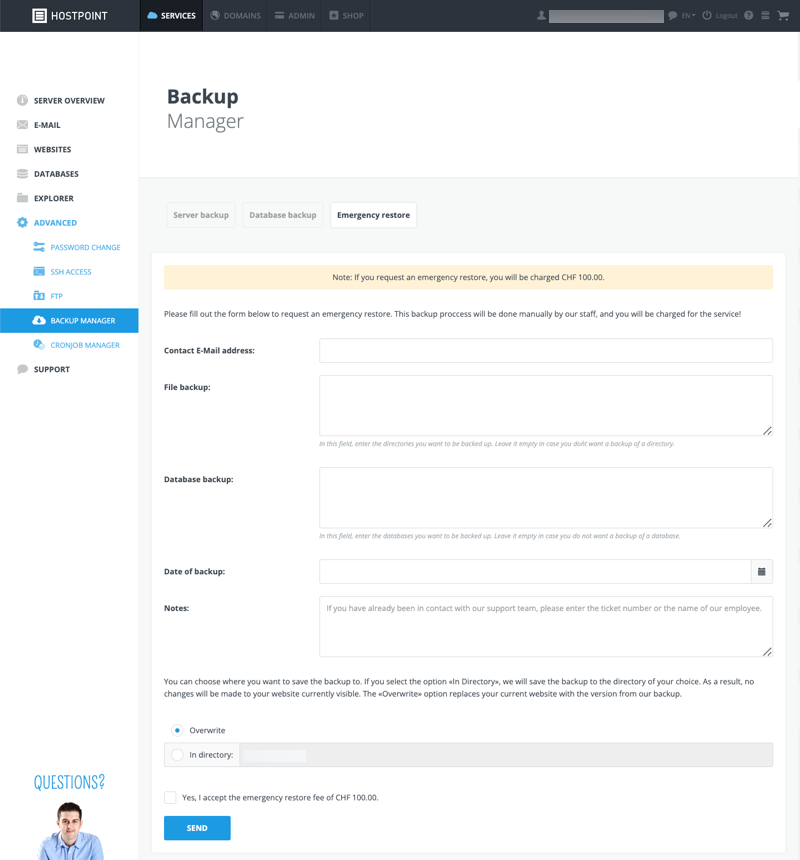
Emergency restore
If you need a backup and have not created one yourself, you can pay to order a backup from Hostpoint. You can do this for your files, databases and e-mails.
Warning: Warning: You will be charged CHF 100.00 for an emergency restore.
Files and databases
- Click on “Advanced” > “Backup Manager” > “Emergency restore” in the left menu.
- Enter your full e-mail address.
- If you need a backup of your files, specify which directories and files are affected.
- If you need a backup from a database, specify the database name.
- Select a backup date.
- Under “Notes”, describe as precisely as possible what happened, when and with whom you have already been in contact.
- Decide whether to override the current state of your website or save it to a separate directory.
- Accept the restore fee.
- Click on “Send”.
→ Once the emergency restore is complete, you will be notified by our support team via e-mail.
E-mails
An emergency restore of your e-mails can be ordered for a fee from the Hostpoint Control Panel under “E-mail & Cloud Office” > “View Cloud Office Groups” > “Edit” > “Emergency restore”.
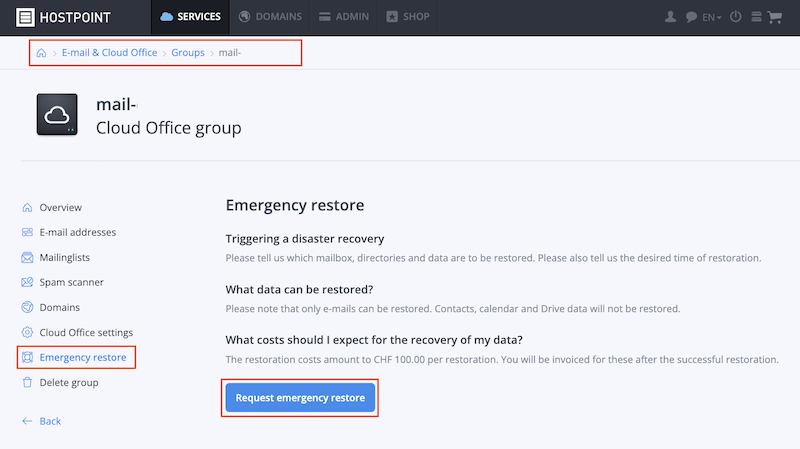
Info: Note: This applies only to e-mails; contacts, calendars, and drive data can not be restored.
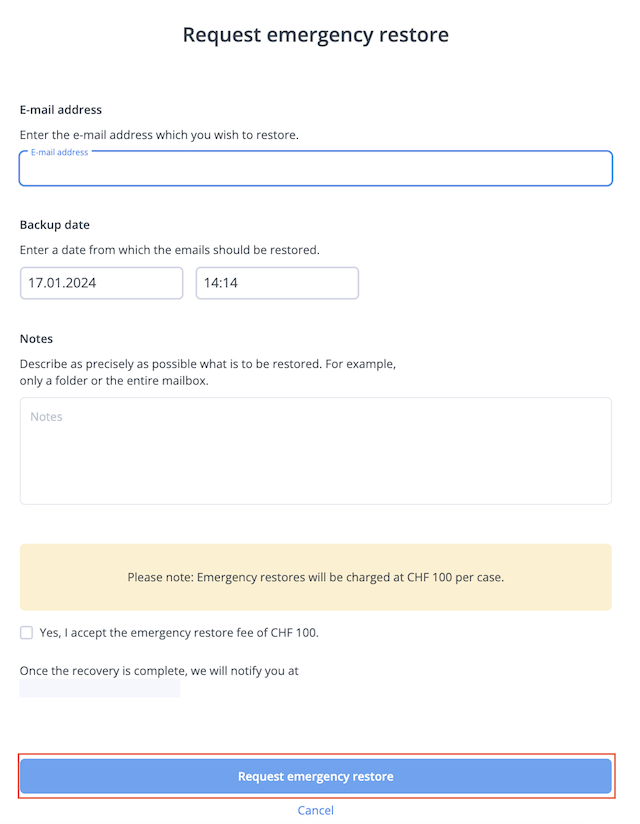
- Click on “Request emergency restore”.
- Enter the affected e-mail address.
- Select the backup date.
- Under “Notes,” describe as precisely as possible what you want to restore.
- Accept the restore fee.
- Click on “Request emergency restore”.
→ Once the emergency restore is complete, you will be notified by our support team via e-mail.
Please use this form only to provide feedback on the above guide.
For support requests please use this form instead.
For support requests please use this form instead.