")
")

This article explains where to find the various functions and how to use them.
We recommend first taking the time to read this carefully and complete the steps for getting started in your Hostpoint Control Panel with the examples presented here. This way, you can configure your server exactly to your liking without running into bigger problems or questions.
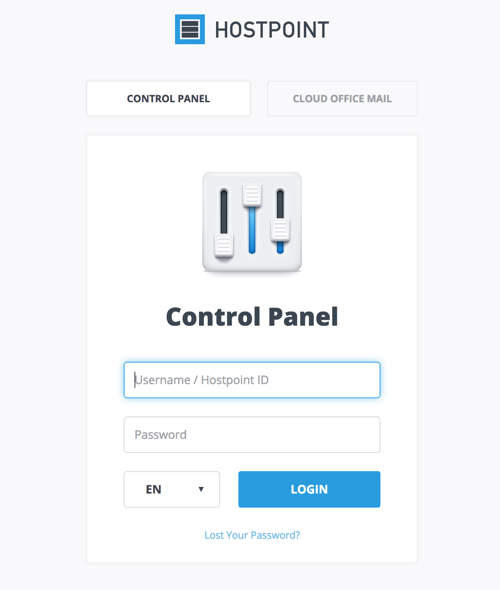
Login
To access the Control Panel, go to https://admin.hostpoint.ch.
Enter your Hostpoint ID and your password to access the administration interface for all products and accounting details.
What is the difference between the Hostpoint ID and my old user name?
Have you forgotten the password for your Hostpoint ID?
The start page
On the start page, you will find information about your server and any important messages from Hostpoint.
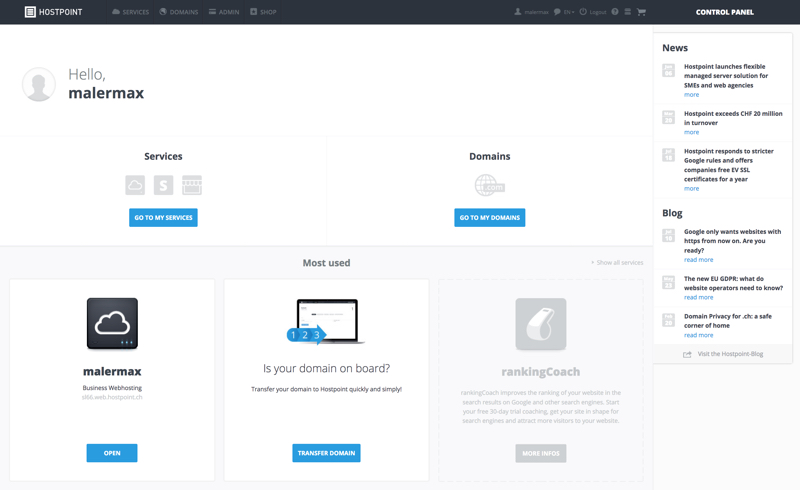
It also contains various menu items (navigation) at the top of the screen, which are described here in detail:

Services
This page provides an overview of your hosting services, which you can manage using your Hostpoint ID. If you don’t have a Hostpoint ID, you will still be able to view your hosting services here.
Domains
This page contains functions for adding domain names and subdomains to your server or deleting them. You can also make changes to the DNS and name server on this page.
Admin
If you have a Hostpoint ID, you can view the contracts for your servers and domains on this page. You can also settle any open invoices directly. In addition, you have the option here under «Contracts» to view the contract term and to cancel contracts.
Shop
If you would like to add more products to your Hostpoint ID or your server, you can do so easily and directly in the integrated shop.
Services
On this page, you will find all settings and functions that are relevant for your server.
Selecting your hosting account
If you have a Hostpoint ID and have used it to log in to the Control Panel, you can choose here which hosting account you want to manage. To do so, simply click «OPEN» below the hosting account.
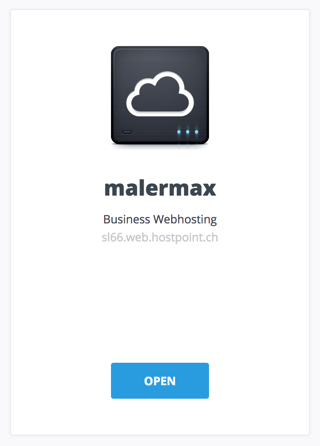
If you have logged in using the username of your server, you will be able to access only that server.
With the shortcuts, you can start your SITES or your ePages Webshop, or access one of your other available hosting accounts directly. To do so, simply click on the relevant symbol.
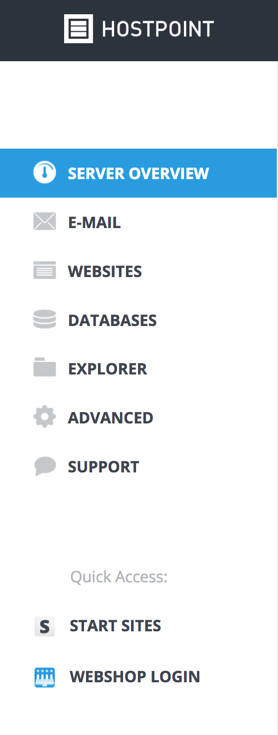
Server overview
The server overview provides a general overview of how your selected hosting account is used. In addition to the quota, the number of domains and the number of databases, you can see which version of PHP, MySQL and PERL is used on your server.
All our hosting packages offer the possibility of managing e-mail addresses. You can create your own e-mail addresses for all domains and subdomains.
The «E-Mail» category also includes «autoresponders», «mailinglists», «Cloud Office» and «e-mail migration».
Websites
In the overview of the menu item «Websites» you will find the websites you have created as well as their document roots. If you have already entered a domain name under «Domains», you still have to create a website for it. To do this, click on «Create a website» at the bottom of the page. Select the domain name at point 1 (e.g. «your-own-domain.ch»). If you want to create a new subdomain, you can also enter it directly here (e.g. «test.your-owndomain.ch»).
At point 2, select your desired basic setting. If you are unsure, choose the first option (Apache with PHP). Finally, define the folder on your server where the content needed for the website will be stored. However, this point does not require any change in principle. Our system automatically creates a folder with the domain name in the www directory.
One-Click Apps
This menu lets you install popular applications from third parties in a simpler way than the standard method. However, you should note that you must regularly update these applications and agree to the specific Terms & Conditions for using these applications. Clicking the «Install» button below the desired application starts a wizard that guides you through the installation process.
You can install updates directly from the Control Panel. Please note that manual updates of the applications (for example directly in the back end of the application) are not automatically detected by the control panel. If you perform updates manually, the version specification in the control panel must not be observed. If you want to have the display up-to-date, you can inform our support about the new version after a manual update.
Databases
Click the «Databases» menu item to open a list of your MySQL databases. If you have already installed applications, you will see the databases currently in use.
To create a new database, click «Create a database» and follow the instructions in the wizard. You will be prompted to enter a name, database user and password for working access to your database.
We recommend creation of a separate database user for each database.
Explorer
Explorer allows you to manage the folders and files in your hosting account and make specific settings for the various directories.
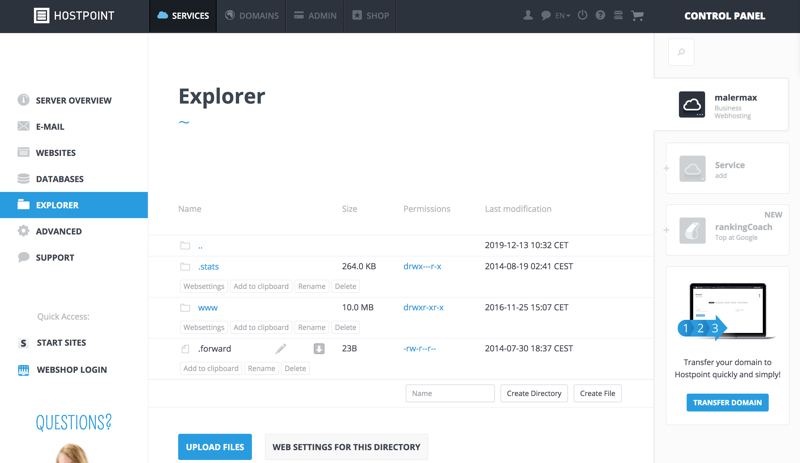
Explorer is essentially a file manager and works like one. Directories are displayed in blue and individual files in black.
If you click the «www» folder, for example, you go one level down in the "www" folder. There you will see a few folders with which you are probably already familiar. The «your-own-domain.ch» folder, for example, is for the "your-own-domain.ch" website that we’ve created in the course of this documentation. If you click on this folder, you will see further folders for any applications and data that you have installed. By clicking «..» you go up one level, i.e. back.
The clipboard is the tool for moving and copying files and folders.
Advanced
Under this menu item you will find the submenu items «Password Change», «SSH Access», «FTP», «Backup Manager» and «Cronjob Manager». These make it possible to control access to the hosting, create backups or manage time-controlled commands (so-called cronjobs).
Support
The Support menu item contains contact information and options for obtaining help with your questions.
For support requests please use this form instead.