")
")

Have you purchased a Cloud Office product and now want to create your own e-mail address?
Here is a step-by-step guide on how to do this:
In the Hostpoint Control Panel (with hosting package)
To create a new e-mail address, follow these steps:
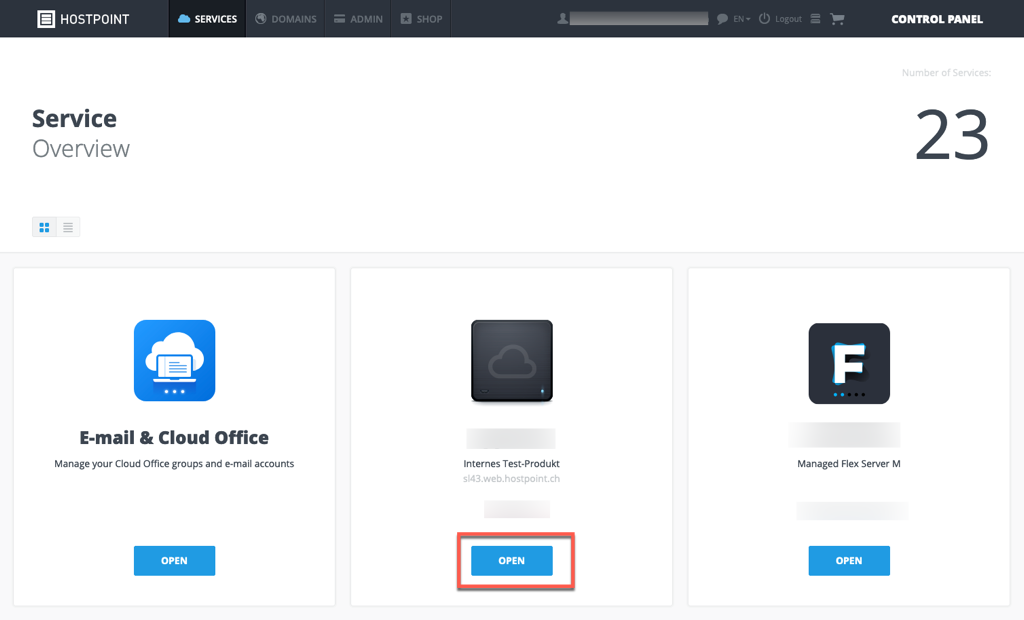
Log in to your Control Panel with your Hostpoint ID at https://admin.hostpoint.ch and open your hosting account. Select “E-mail” from the menu.
Select “Create e-mail address”.

Enter the desired e-mail address (e.g. “max” before the @) and select the appropriate domain.
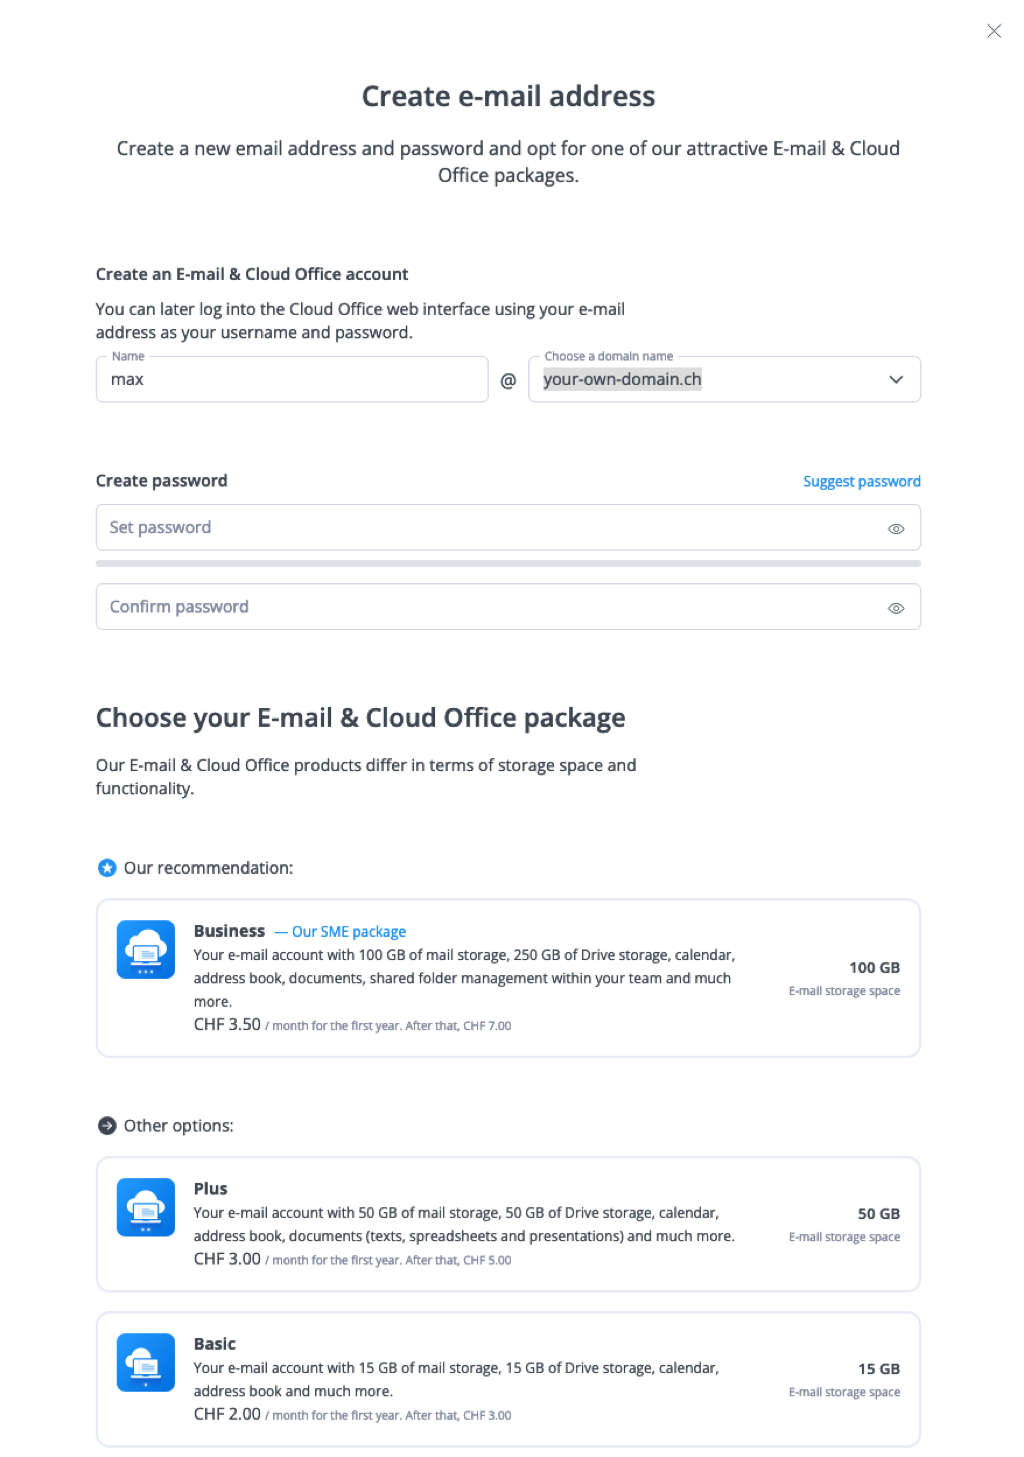
In the “Set password” field, enter a secure password with at least eight letters and one number and enter it again in the “Confirm password” field for verification.
Then select the desired Cloud Office package and click “Create”.
By default, your e-mail account storage space is set to 1 GB. However, you can change this amount to suit your needs (max. 5 GB per mailbox).
You can now access your new e-mail address via our Cloud Office web application or set it up on an e-mail client of your choice.
In the Hostpoint Control Panel (with E-mail & Cloud Office package)
To create a new e-mail address, follow these steps:
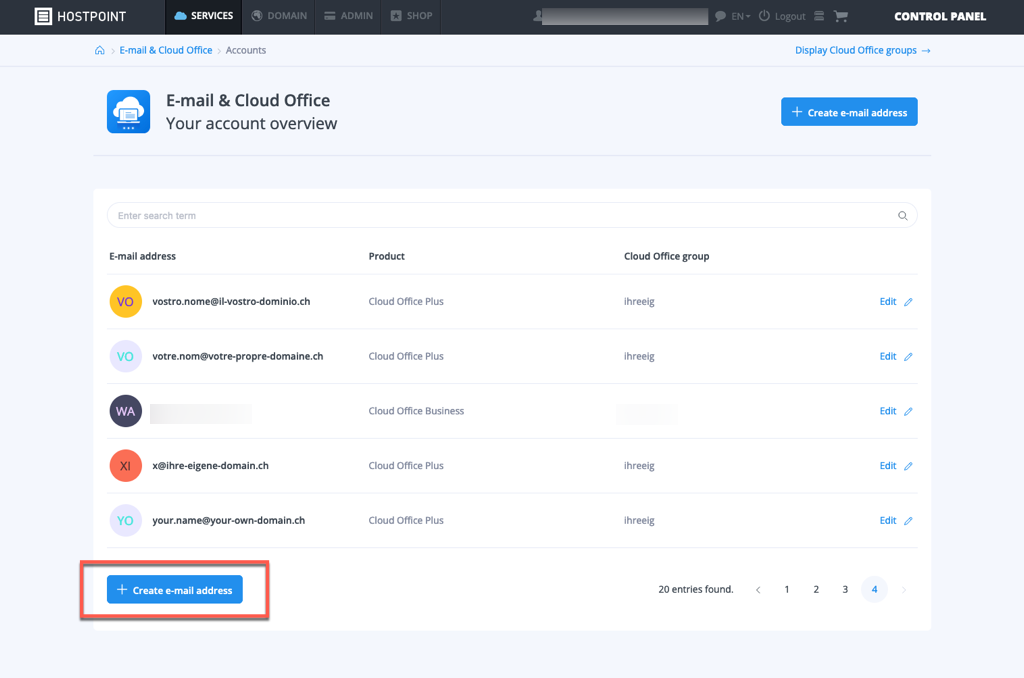
Log in to your Control Panel with your Hostpoint ID at https://admin.hostpoint.ch and open “E-mail & Cloud Office”.

Select “Create e-mail address”.
Enter the desired e-mail address (e.g. “max” before the @) and select the appropriate domain.

In the “Set password” field, enter a secure password with at least eight letters and one number and enter it again in the “Confirm password” field for verification.
Then select the desired Cloud Office package and click “Create”.
You can now access your new e-mail address via Cloud Office interface or set it up on an e-mail client of your choice.
For support requests please use this form instead.