")
")

In your Hostpoint Control Panel, you can use your Hostpoint ID to create and manage a Cloud Office group. At the same time, if you have the authorization, you can also manage e-mail addresses within a Cloud Office group.
You assign your domain to a Cloud Office group and all e-mail addresses are automatically assigned to this Cloud Office group when they are created. It is not possible to assign a domain and, therefore, the e-mail addresses with this domain to different Cloud Office groups.
The free e-mail addresses (Cloud Office Limited) within a hosting account are already assigned to a separate group.
Below, we provide step-by-step instructions on how to create the desired Cloud Office group and add e-mail addresses.
Follow these steps:
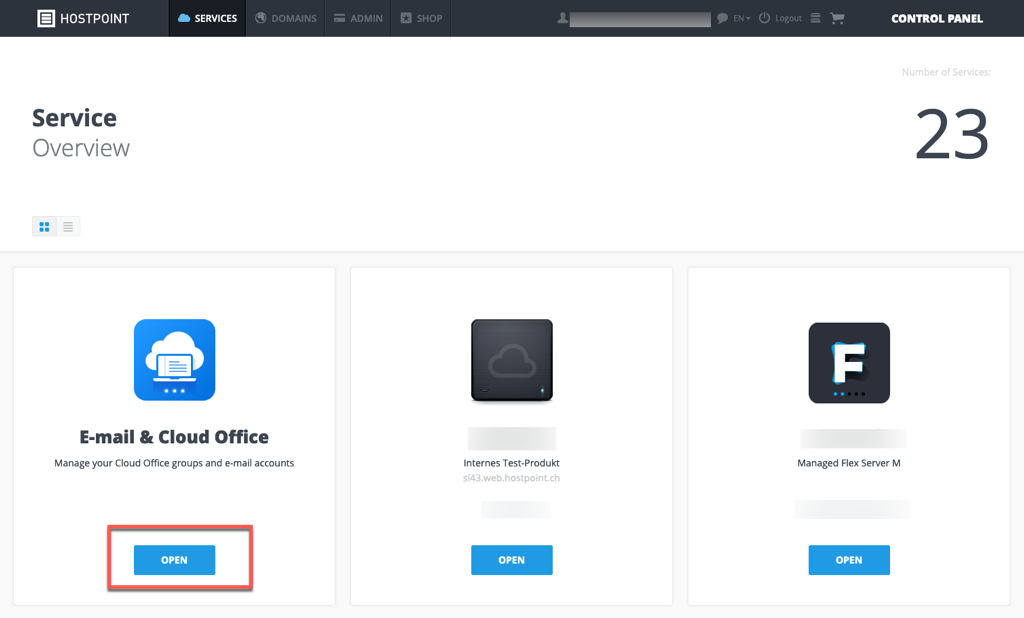
Log in to your Hostpoint Control Panel with your Hostpoint ID at https://admin.hostpoint.ch and open the “E-mail & Cloud Office” service.
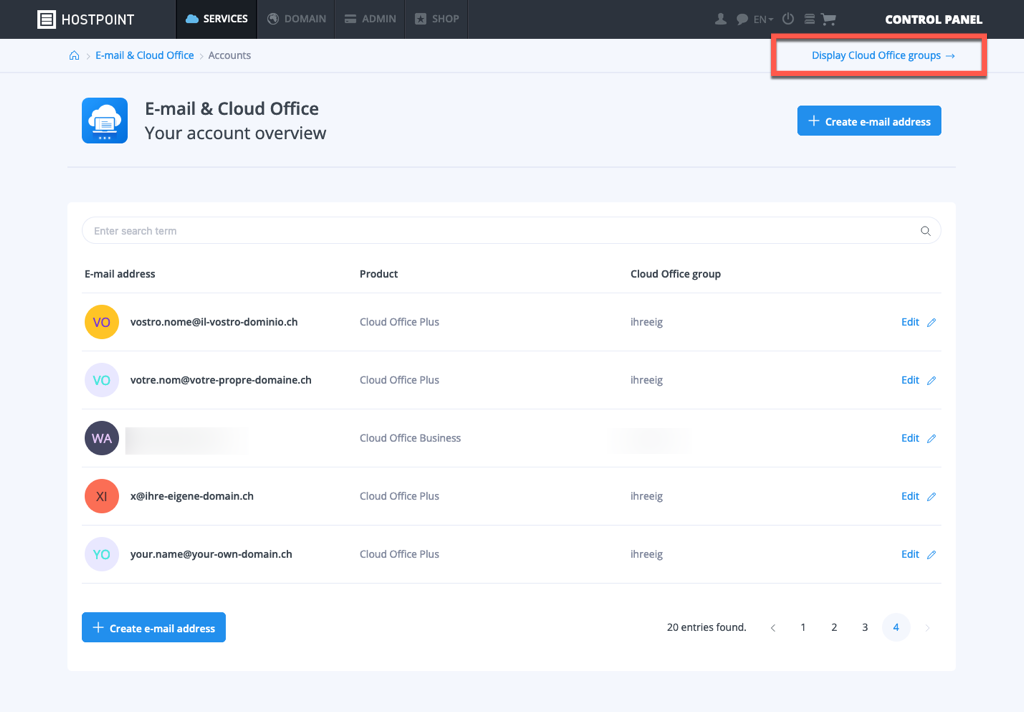
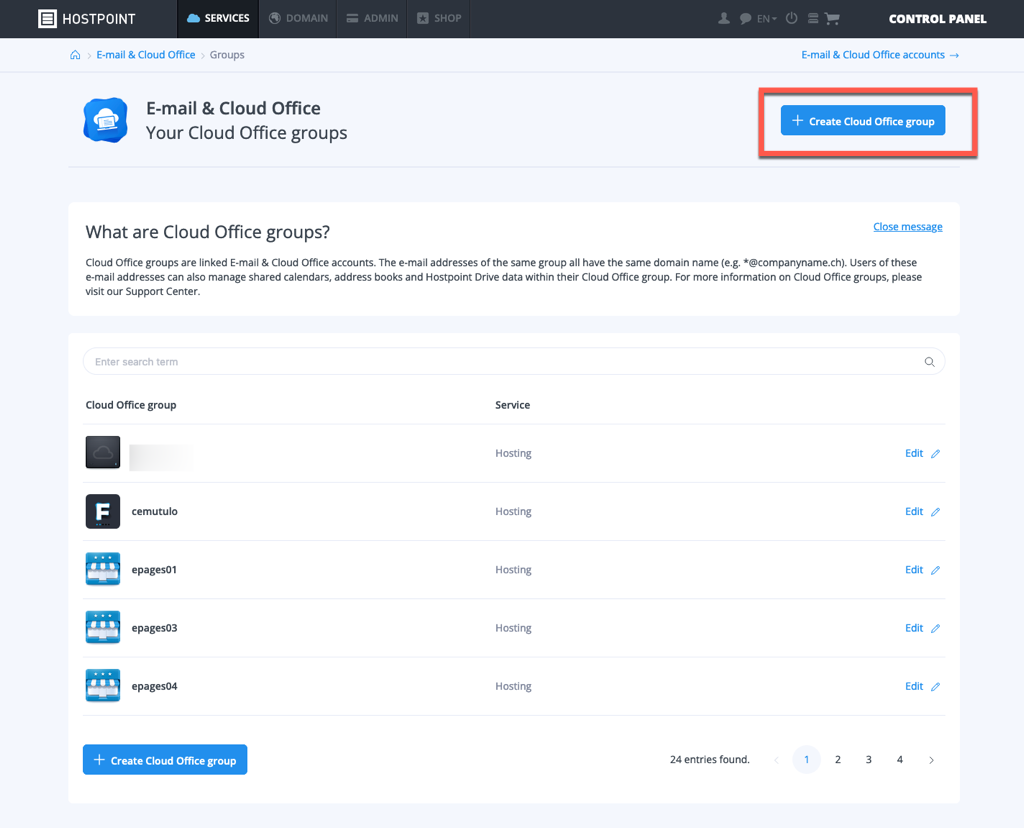
Select “Display Cloud Office groups” at the top right and click on “Create Cloud Office group”.
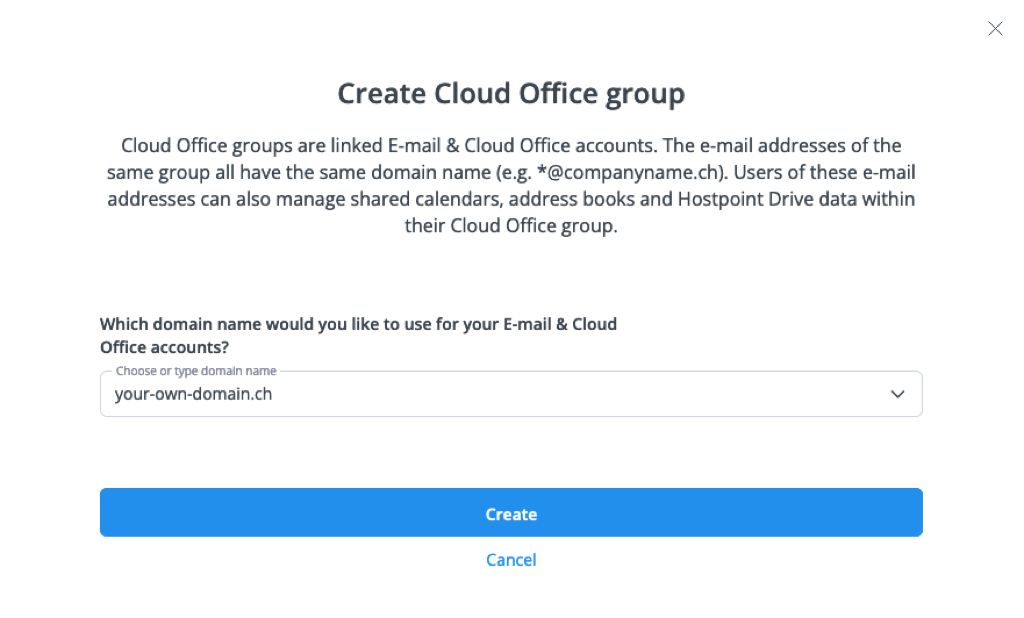
Select the desired domain and enter the desired group name. Then click on “Create”.
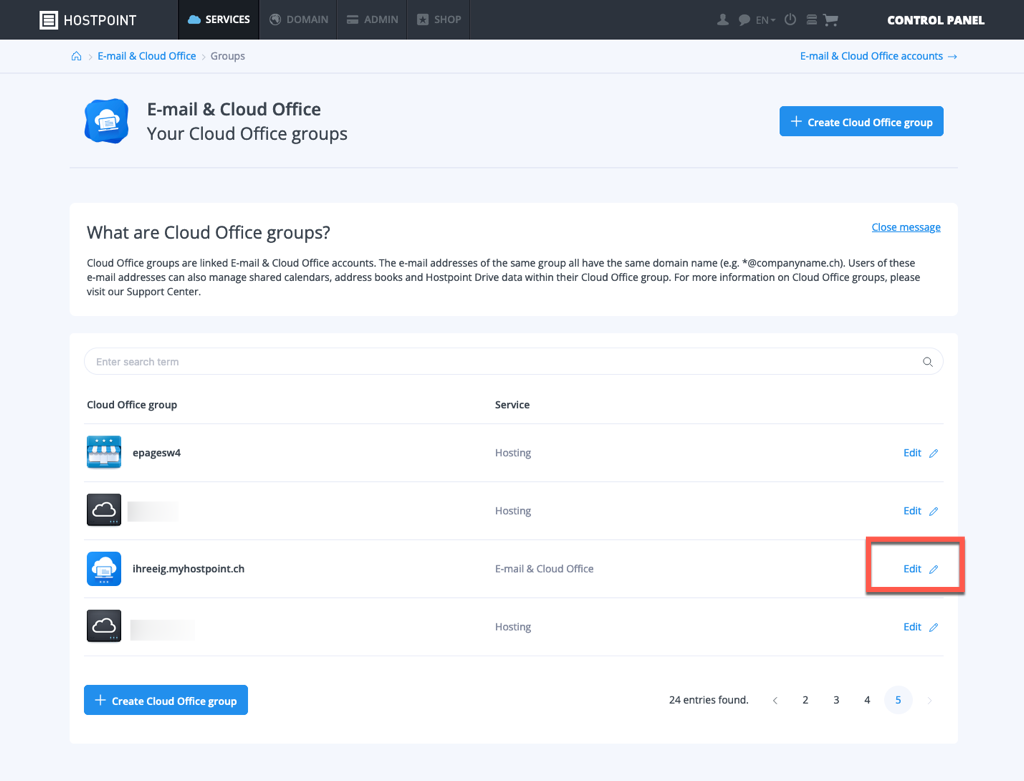
To add e-mail addresses to the Cloud Office group, click “Edit” next to the group name.
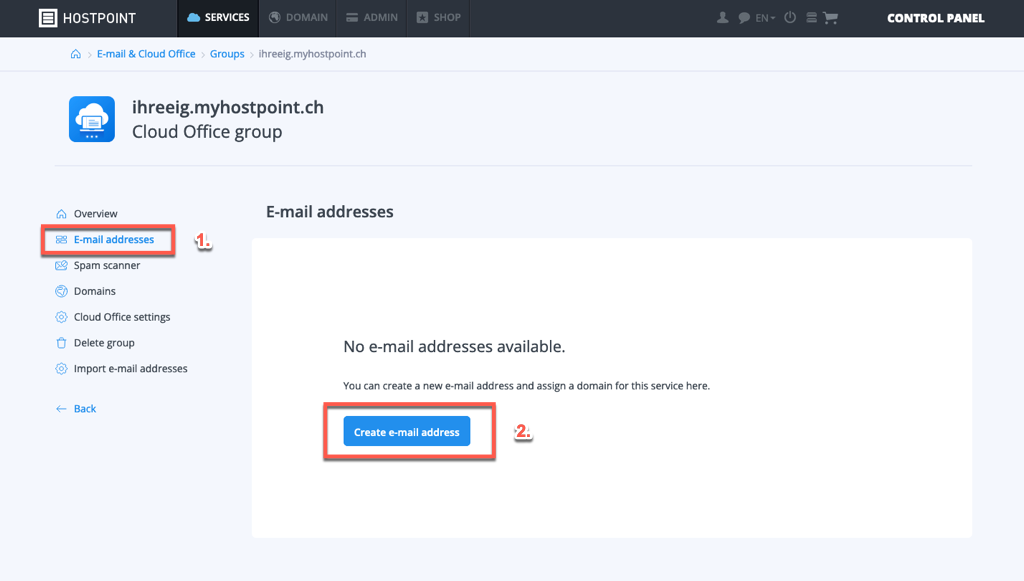
Now select “E-mail addresses” on the left and click on “Create e-mail address”.
For support requests please use this form instead.