")
")

Want to move your website, including domain and e-mails, from one Hostpoint web hosting account to another? We explain in this article how best to go about this – one step at a time.
Moving a website from one web hosting account to another within Hostpoint is necessary if you want to separate websites for multiple projects and split them across separate web hosting accounts. Depending on the situation, this may make sense for security or legal reasons.
Back up all data
As a first step, we recommend that you back up all your data.
Follow these steps to do so:
Website
There are several ways to back up your website data:
- Hostpoint Control Panel: Follow this guide to create a backup in the Hostpoint Control Panel.
- FTP: Download the data via FTP. To do this, save the data from the “www” or “public_html” folder locally on your device.
- SSH: If you have basic SSH knowledge, you can also copy the data directly from the existing web hosting account to the new one via Shell by using the scp command.
Databases
Follow this guide to create a backup of your databases.
E-mails, calendars and contacts
There are several ways to back up your e-mails:
- Retrieve your e-mails in the e-mail program via POP3 so that the e-mails are stored locally.
- Export your e-mails.
- Move your e-mails in the e-mail program to a local folder (e.g. possible with Outlook and Thunderbird).
Follow this guide to back up your e-mails, calendars and contacts.
Remove data from the current web hosting account
In order to add your data to the new web hosting account, you first have to remove it from the current web hosting account.
Follow these steps to do so:
- Log in to the Hostpoint Control Panel with your Hostpoint ID.
- Open your existing web hosting account.
- Delete all existing FTP accounts under “Advanced” > “FTP” > “Delete FTP account”.

- Delete the website in question under “Websites” > “Delete”.

- Delete all e-mail addresses under “E-mail” > “Edit” > “Delete e-mail address”.

- Delete the assignment of the domain to the Cloud Office group under “E-mail” > “Domains” > “Remove domain”.

- Delete all subdomains of this domain as per this guide.
- Delete the domain under “Domains” > “Delete”.
Note: Deleting the domain only deletes the domain entry and the DNS zone. The contract, however, remains in place and the domain is still registered in your name.
→ All data has been removed from your current web hosting account.
Upload data to the new web hosting account
Now the data you backed up must be uploaded to the new web hosting account.
Follow these steps to do so:
- If you have not already done so, order your new web hosting account from Hostpoint now.
- Log in to the Hostpoint Control Panel with your Hostpoint ID.
- Set up the domain in the new Hostpoint Control Panel. There are three ways to do this:
- Change of ownership: If you want to transfer the domain to a new owner, please follow this guide.
- Access right: If the current owner wishes to keep the domain, you can grant access to the domain. Follow this guide for this.
- External registrar: If the domain is registered externally, it can be added in the new Hostpoint Control Panel under “Domains” > “Add a domain”. Make sure that the DNS settings in your domain registrar’s control panel point to Hostpoint.
- Open the “Domains” menu. Click “Edit” on the domain and assign the domain to the new web hosting account.

- Open the web hosting account to which you wish to move the website.
- Create a new website with the corresponding domain under “Websites” > “Create a website”.

- Upload the website data backed up in Section 1 to the website folder you have just created in Explorer or via FTP.
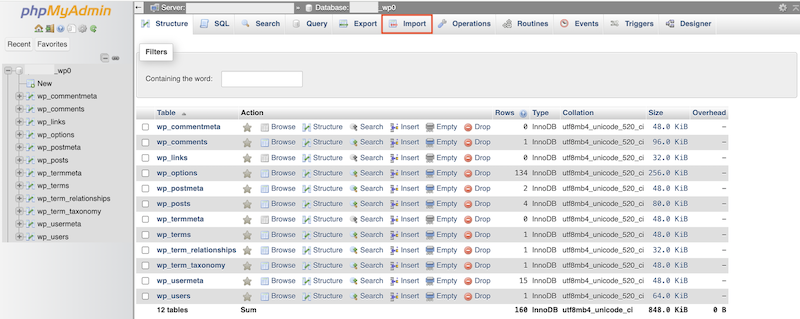
- Create a new database under “Databases” > “Create a database” and import the database backed up in section 1 into phpMyadmin.
- Create your e-mail addresses in the “E-mail” menu.
- Set up your e-mail addresses in your e-mail program and import or copy the e-mails backed up in Section 1.
Note: Our e-mail assistant will help you to set up the e-mail addresses in the e-mail program of your choice. - Import the calendars and contacts backed up in Section 1. Follow this guide for this.
→ Congratulations! You have successfully moved your website, including domain and e-mail, from one web hosting account to another. You can now terminate the contract for the old web hosting account if you no longer need it.
For support requests please use this form instead.