Step-by-step instructions for configuring your E-Mail account in Outlook 2013.
If you have set up an E-Mail address in the Control Panel, you can configure this account in your Outlook 2013.
E-Mail account administration
Click «File» at the top left and then «Add Account».
Automatic configuration
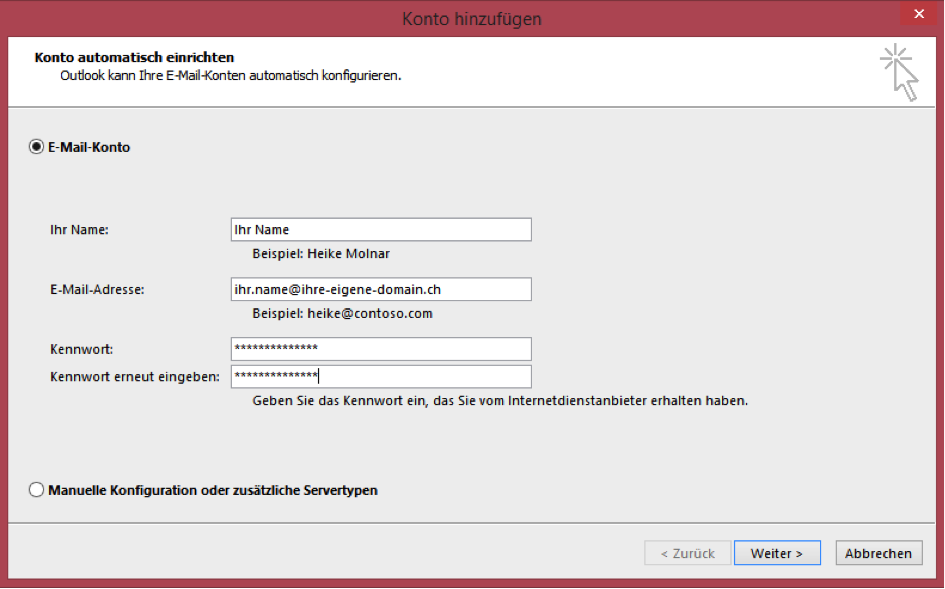
Enter a name for your account (this name is shown in the account list) and the sender name that recipients of your E-Mails will see.
Enter the full E-Mail address, and then the password below. You defined the passsword in the Control Panel when setting up the E-Mail address.
Clicking «Next» automatically searches for the correct account settings.
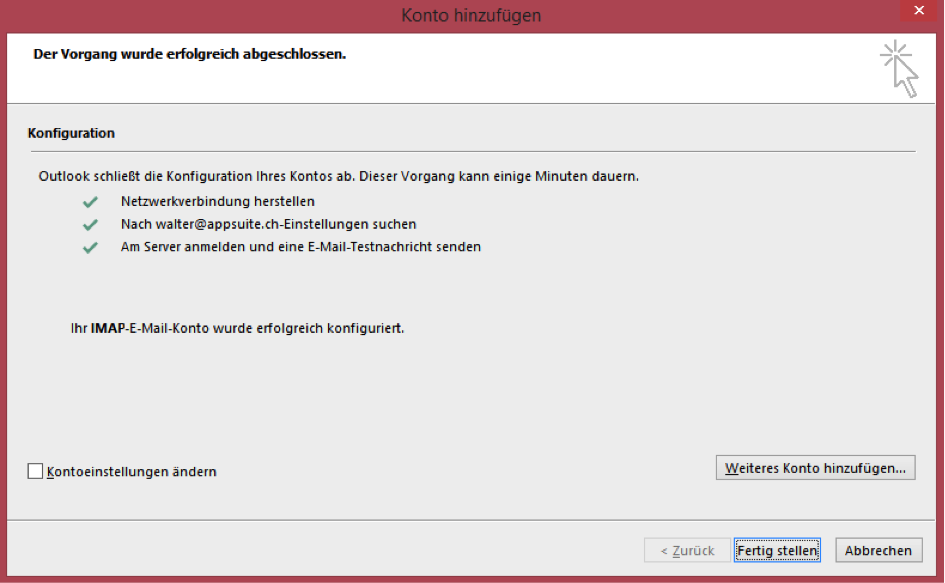
If the success notification appears, your account has been set up properly.
Manual configuration
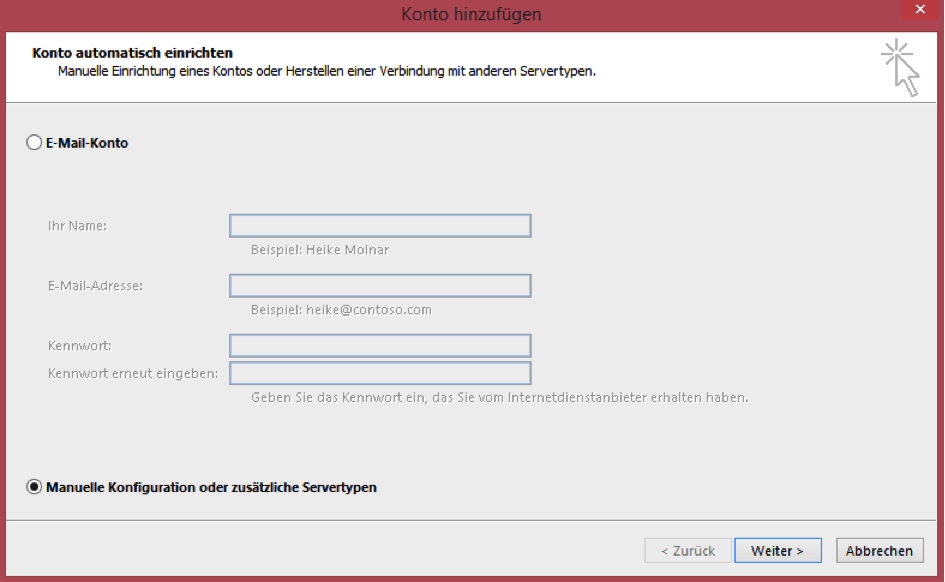
To set up the E-Mail address yourself, go to «Manually configure server settings or additional server types» and then click «Next».
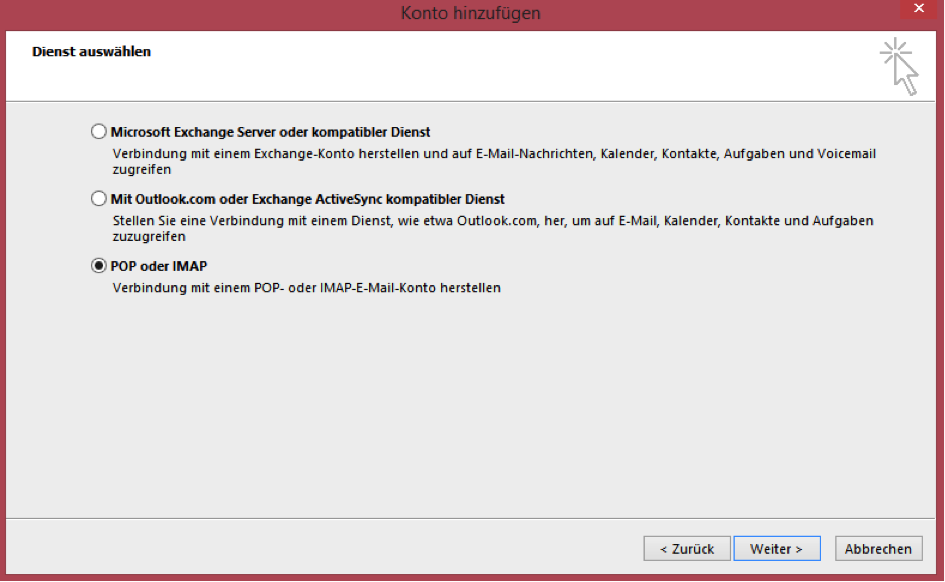
Choosing the account type: POP3 or IMAP
Now choose between a POP3 or IMAP account.
- IMAP
- Using IMAP saves your E-Mails on the server. Each time you read an E-Mail, a copy is downloaded from the server.
- POP3
- Using POP3 downloads and saves your E-Mails to your Outlook. The messages are then deleted from the server. This way, you can also read your E-Mails offline at any time, for example if you are on the train.
If you are not certain, choose IMAP.
Configuration
Enter a name for your account (this name is shown in the account list) and the sender name that recipients of your E-Mails will see.
Enter your full E-Mail address.
For «Incoming Server», enter imap.mail.hostpoint.ch for IMAP or pop.mail.hostpoint.ch for POP3.
Enter asmtp.mail.hostpoint.ch for the «Outgoing mail server».
Enter the full E-Mail address as «Username» and the corresponding password below.
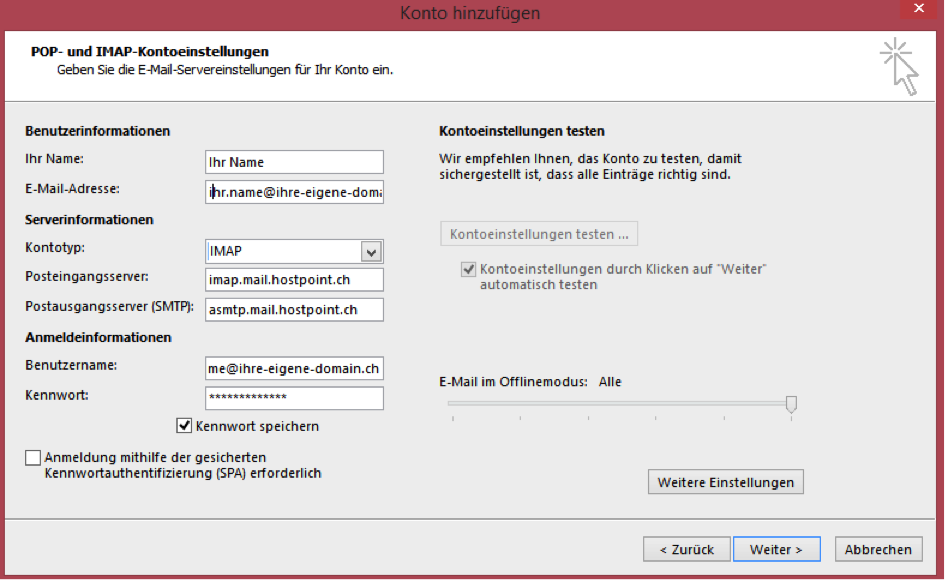
Now go to «More Settings» and click the «Outgoing mail server» tab.
Always enable authentication for your outgoing mail server. The simplest option is to select «Use same settings as my incoming mail server».
Then select the «Advanced» tab to check the encryption.
| Account- and connection type | Port |
|---|---|
| IMAP with SSL | 993 |
| IMAP without SSL / with TLS | 143 |
| POP3 with SSL | 995 |
| POP3 without SSL / with TLS | 110 |
| SMTP with SSL | 465 |
| SMTP without SSL / with TLS | 587 |
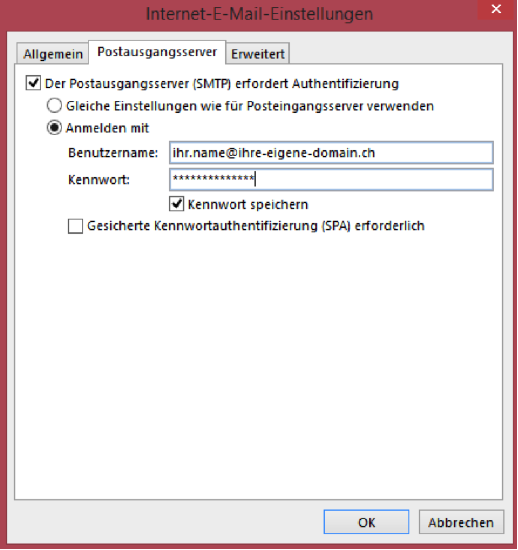
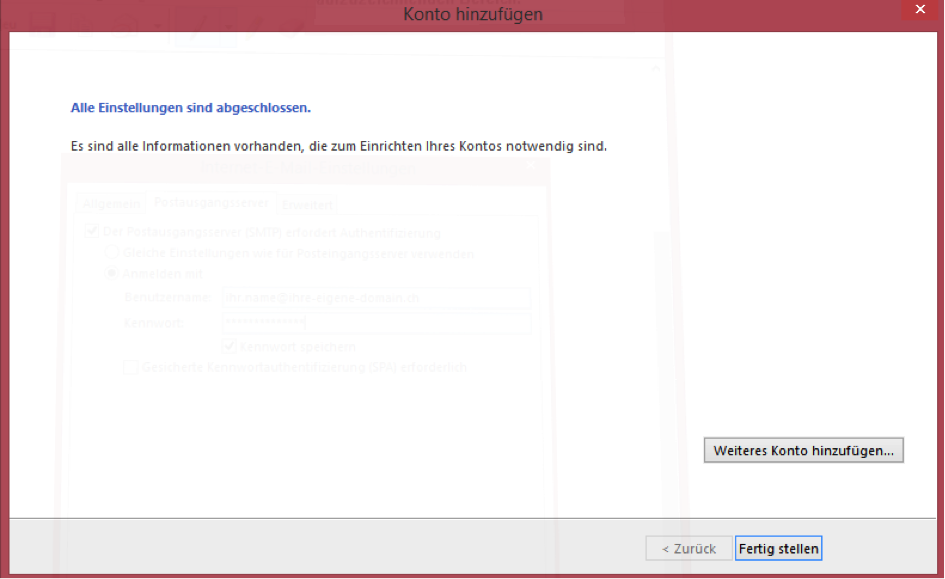
Then click «OK» to confirm the settings and then «Next». The account settings will then be checked, and you will see a success notification if the account has been set up properly.
For support requests please use this form instead.


