")
")

Have you created an alternative e-mail address in the Hostpoint Control Panel and now want to use it in an e-mail program? We'll show you how in this article.
Cloud Office
Alternative e-mail addresses can be used in Cloud Office as follows:
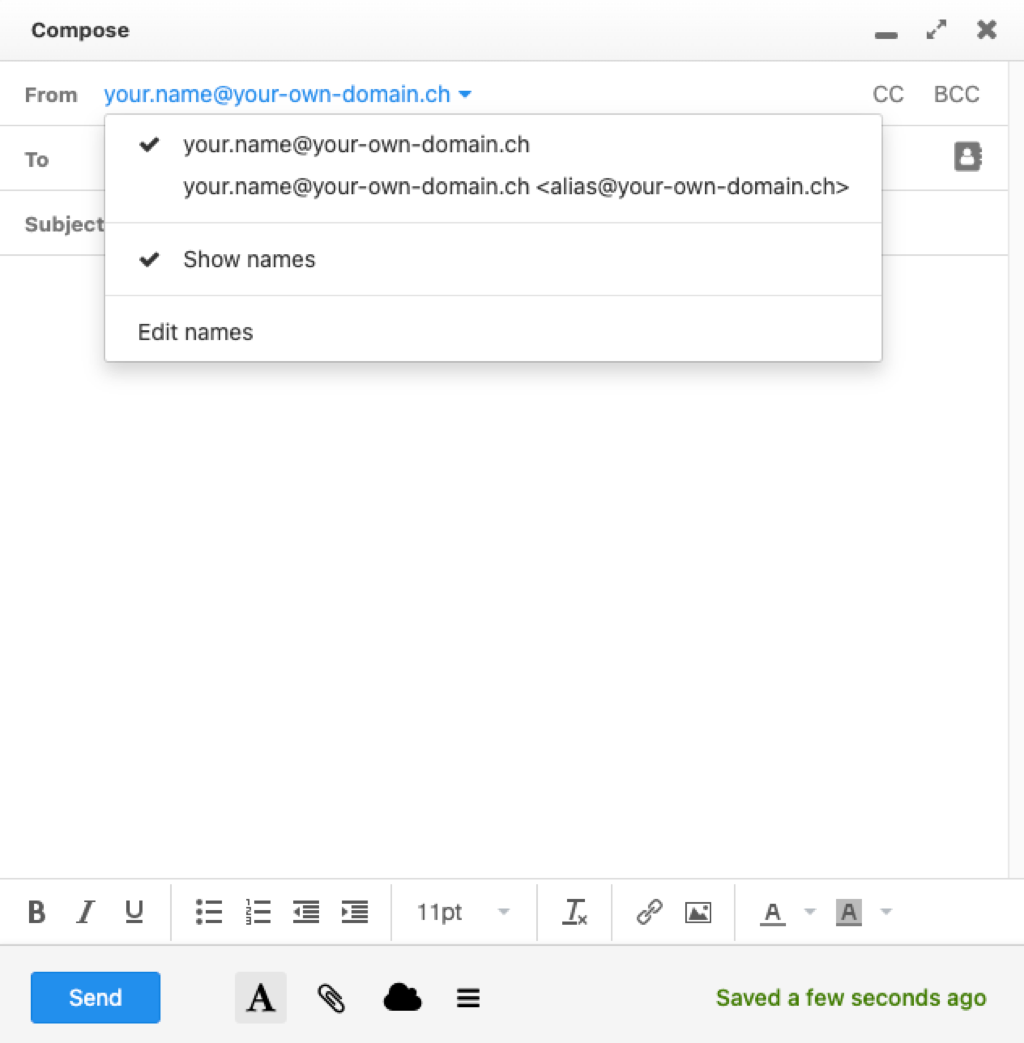
When composing a new e-mail, click in the field “From” and a menu will open in which you can select the sender e-mail address that you wish to be displayed.
Outlook
If you use Outlook, setting up an alternative e-mail address is possible, but a bit more time-consuming. Please note that your primary e-mail address must already be set up.
If you would like to send e-mails using an alternative e-mail address instead of your primary address, please follow these steps:
- In Outlook, click on “File” at the top left.
- Now open “Account settings”.
- In the new window, select “New”.
- Go to “Manual configuration or additional server types” and select “Next”.
- Now select “POP or IMAP” and then click “Next”.
- Enter the alternative e-mail address in the “E-mail address” field.
- Complete the other fields the same as for your primary e-mail address. Follow our instructions.
- Complete the process and add the e-mail address.
The alternative e-mail address has now been set up. To avoid duplicate e-mails in your inbox, you now need to deactivate the e-mail inbox for this account. To do this, follow these steps:
- In Outlook, click on “Send/Receive” next to “File” and “Start”.
- Then select “Send/-Receive groups” and click on “Define send/Receive groups”.
- Click on “All accounts” and then select “Edit” on the right.
- Now select your alternative e-mail address on the left and uncheck the box “Receive messages” and “Show total unread items in the folder for subscribed folders”.
- Confirm with “OK” and close the open windows.
You can now write a new e-mail and select the desired sender via the “From” field.
If you would like all e-mails to be sent with the alternative e-mail address only, please follow these steps:
- In Outlook, click on “File” at the top left.
- Then select “Options” on the bottom left and the Outlook options will open.
- Go to “Advanced” in the menu on the left.
- Under “Send and Receive”, select the button “Send/Receive”.
- Click on “All accounts” and then select “Edit” on the right.
- Under “Accounts”, select your primary (main) e-mail address on the left and then click on the button “Account properties”.
- In the “E-mail address” field, replace your e-mail address with the alternative e-mail address and confirm it by clicking “OK”.
- Confirm the change in the open window by clicking “OK” and “Close”.
You can now write a new e-mail and select the desired sender via the “From” field.
Apple Mail
If you use Apple Mail, you can set up alternative e-mail addresses. Please refer to the official instructions from Apple:
https://support.apple.com/en-euro/guide/mail/mlhlp1205/mac
Thunderbird
If you use Thunderbird, you can set up alternative e-mail addresses. Please refer to the official instructions from Thunderbird:
https://support.mozilla.org/en-US/kb/using-identities
For support requests please use this form instead.