")
")

In the Hostpoint Control Panel (with web hosting package)
To create an alternative e-mail address for an existing e-mail address, follow these steps:
- Log in to the Hostpoint Control Panel with your Hostpoint ID.
- Open your web hosting account.

- Click on “E-mail” in the left menu.
→ The overview shows all e-mail addresses that you have created. - Click on “Edit” next to the desired e-mail address.

- Now click on “Alternative e-mail addresses” on the left.
→ You will see the active alternative e-mail addresses that exist. - Click on “Add an alternative e-mail address”.
→ A window opens. - Enter the desired e-mail address here and click on “Create”.

In the Hostpoint Control Panel (with E-mail & Cloud Office package)
To create an alternative e-mail address for an existing e-mail address, follow these steps:
- Log in to the Hostpoint Control Panel with your Hostpoint ID.
- Open “E-mail & Office”.
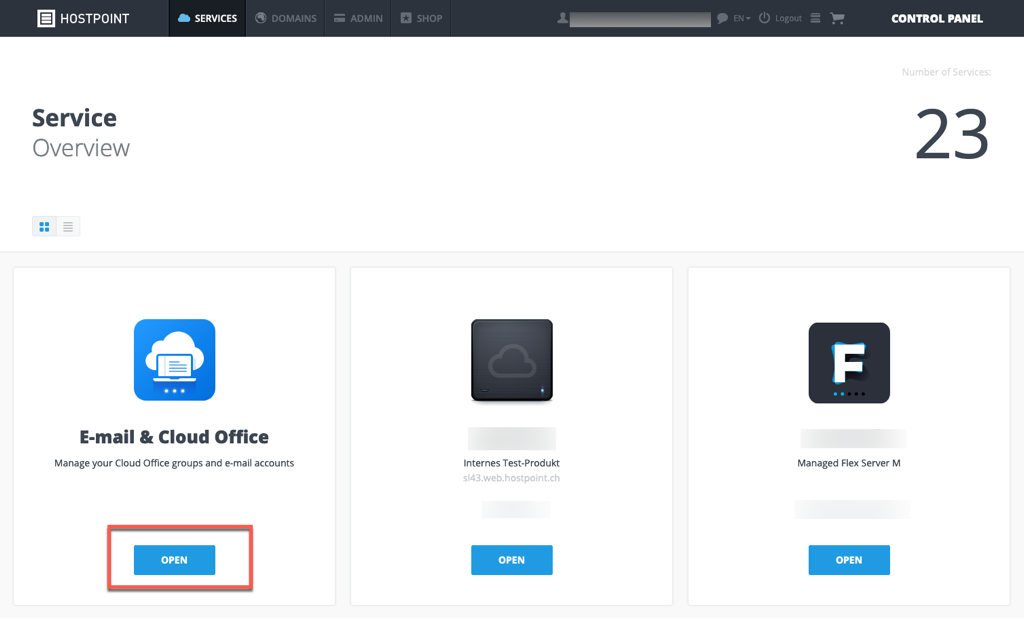
→ The overview shows all e-mail addresses that you have created. - Click on “Edit” next to the desired e-mail address.

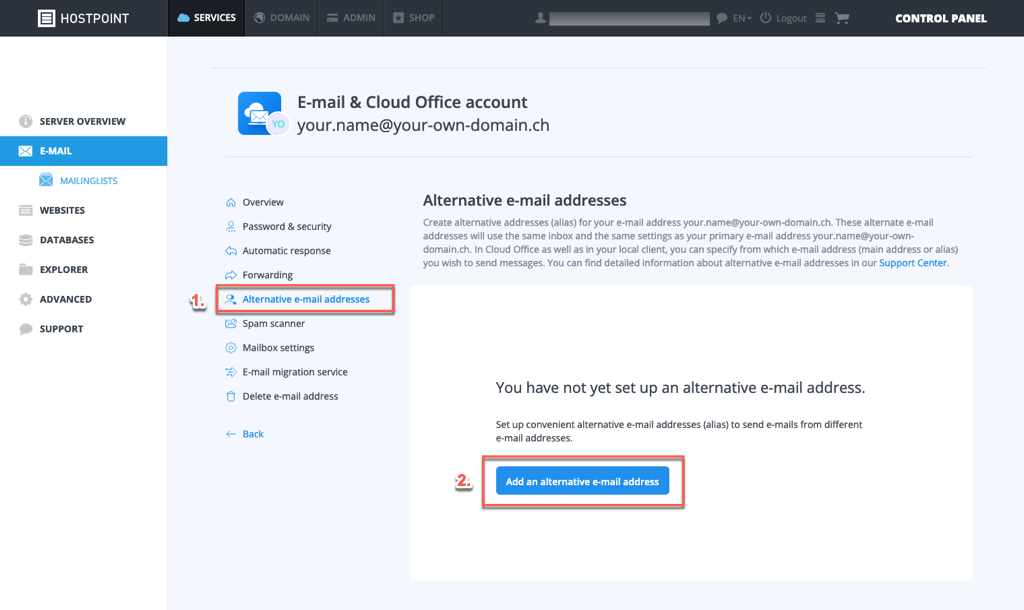
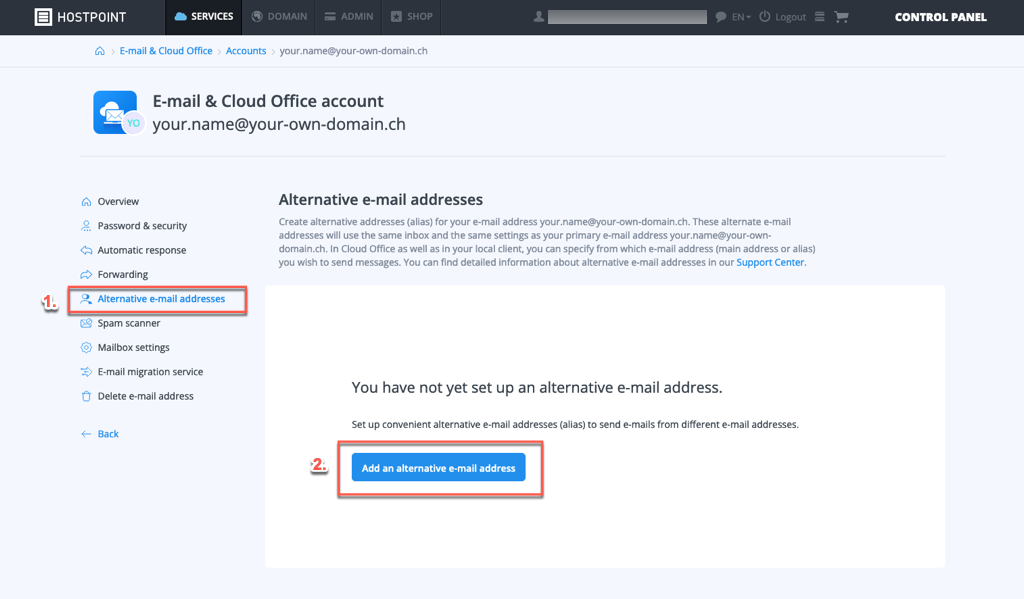
- Now click on “Alternative e-mail address” on the left.
→ You will see the active alternative e-mail addresses that exist. - Click on “Add an alternative e-mail address”.
- Under “Add alternative e-mail address”, the option to enter the desired e-mail address will open.
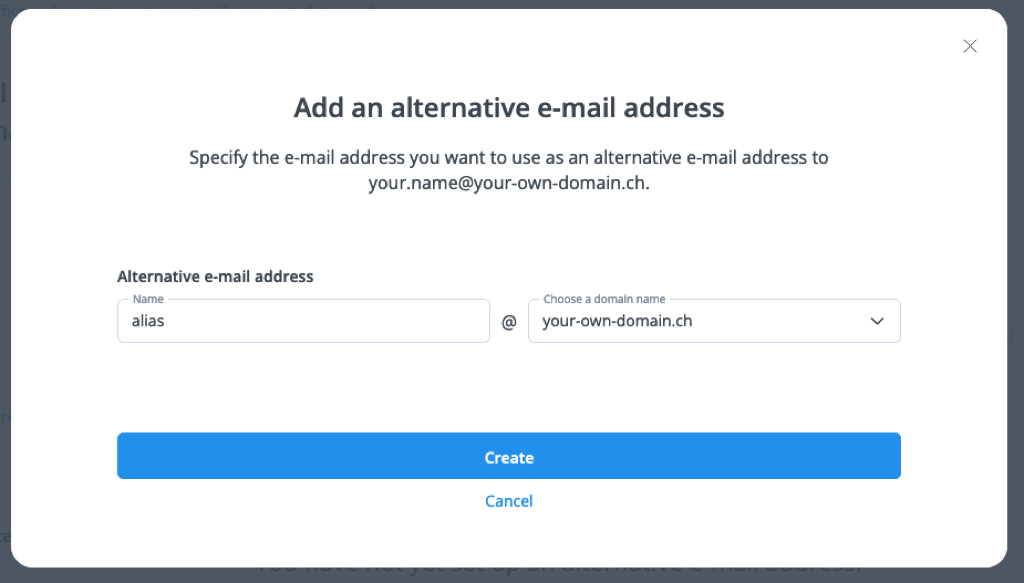 → A window opens.
 - Enter the desired e-mail address here and click on “Create”.
Please use this form only to provide feedback on the above guide.
For support requests please use this form instead.
For support requests please use this form instead.