")
")

In the Hostpoint Control Panel (with web hosting package)
You can easily create an out-of-office message in the form of an automatic response. To do this, follow these steps:
Log in to your Control Panel with your Hostpoint ID at https://admin.hostpoint.ch and open your web hosting account.
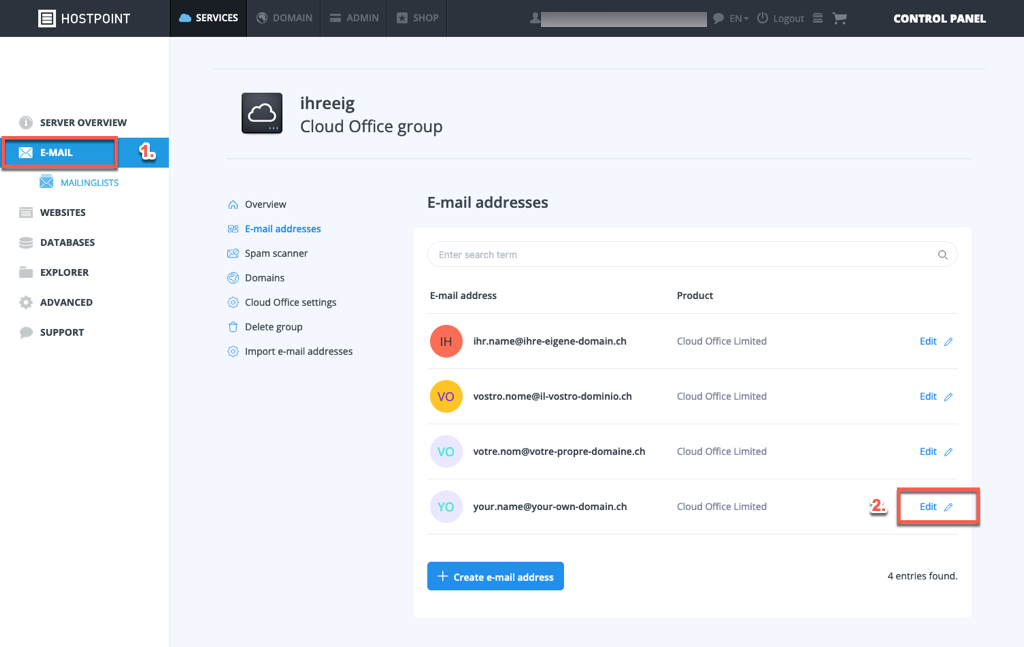
Select “E-mail” from the menu. The overview shows all e-mail addresses that you have created. Click on “Edit” next to the desired e-mail address.
Now select the menu item “Automatic response” and you will see active out-of-office notifications, if any.
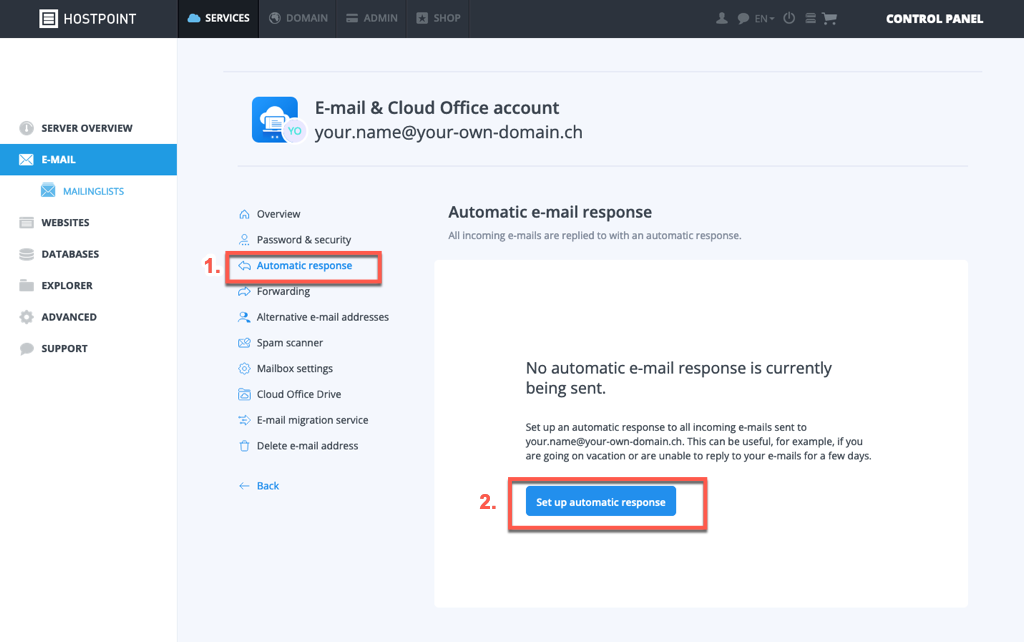
Under “Set up automatic response”, the option to enter the desired out-of-office notification will open. You can activate this either immediately or at a later date.

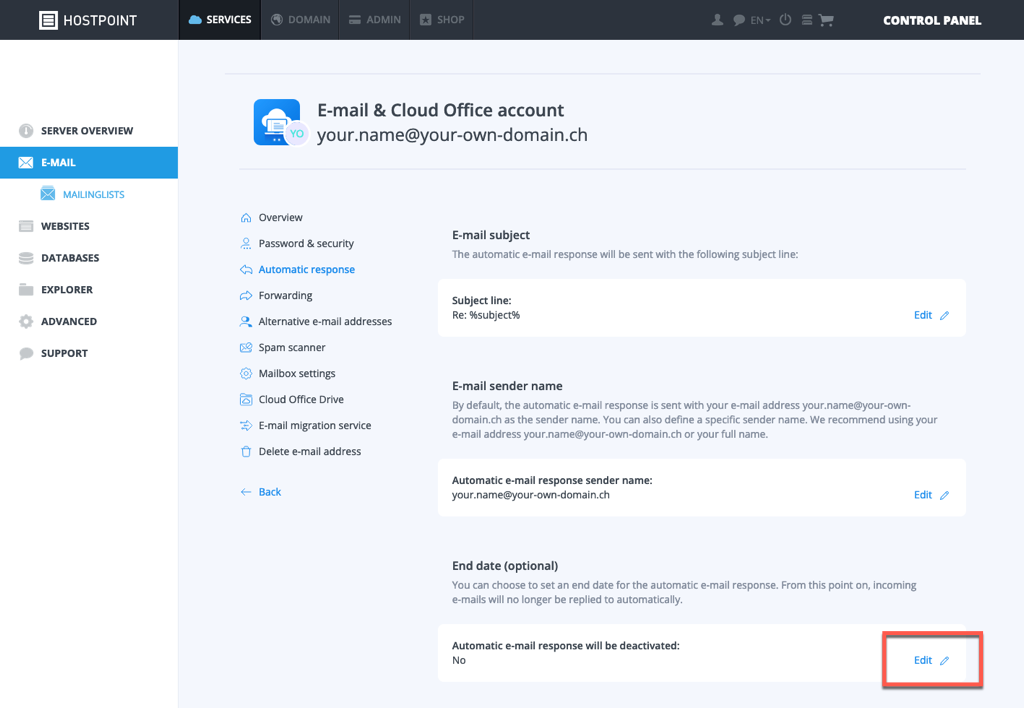
Click “Save” to save the automatic response.
You can then choose to set an end date for the automatic response in the overview at the bottom.
In the Hostpoint Control Panel (with E-mail & Cloud Office package)
You can easily create an out-of-office message in the form of an automatic response. To do this, follow these steps:
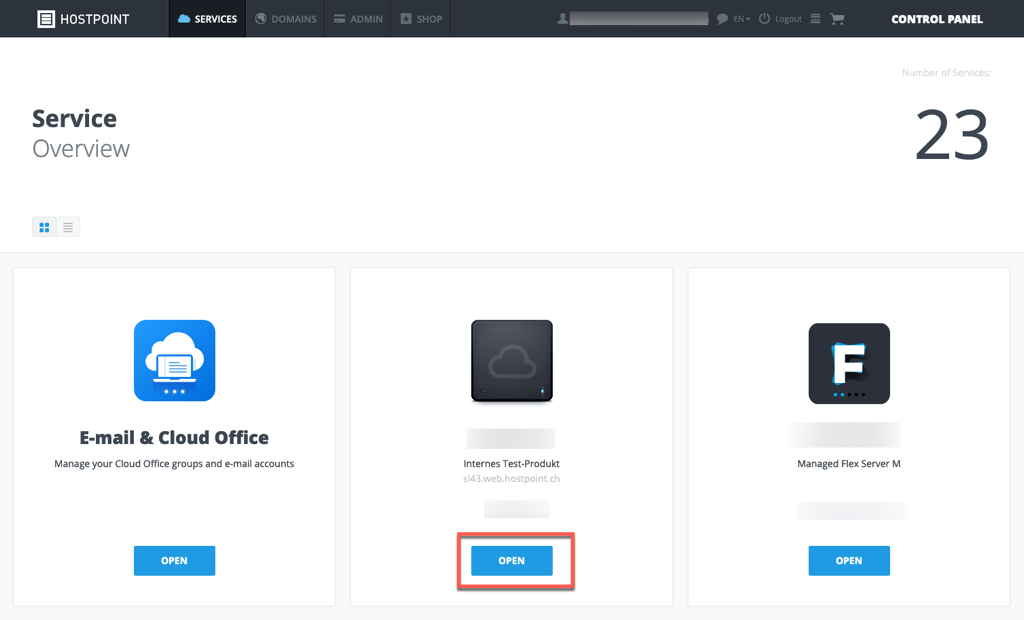
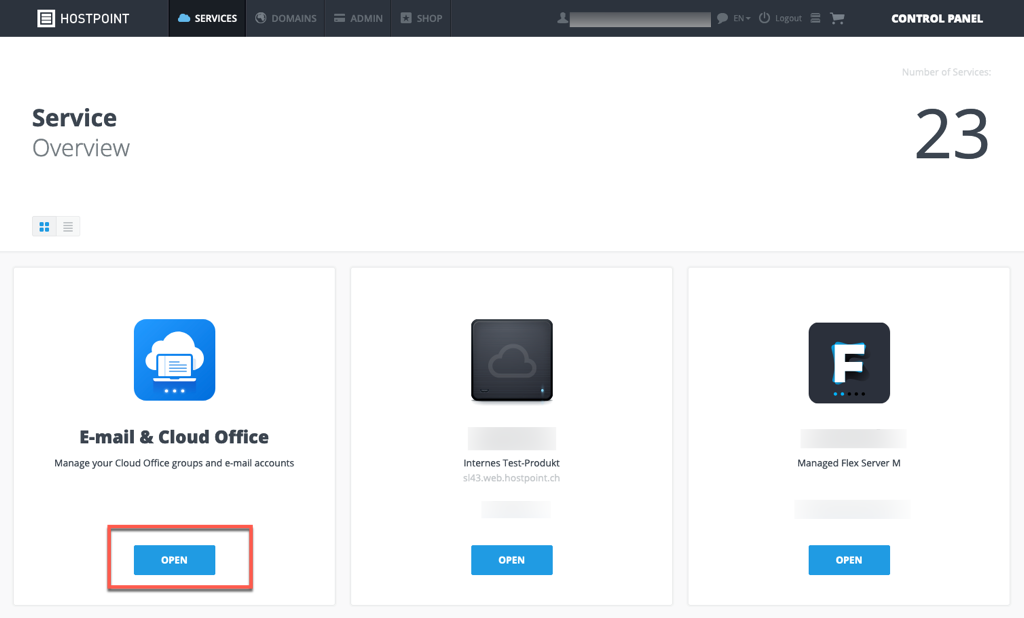
Log in to your Control Panel with your Hostpoint ID at https://admin.hostpoint.ch and open “E-mail & Cloud Office”.
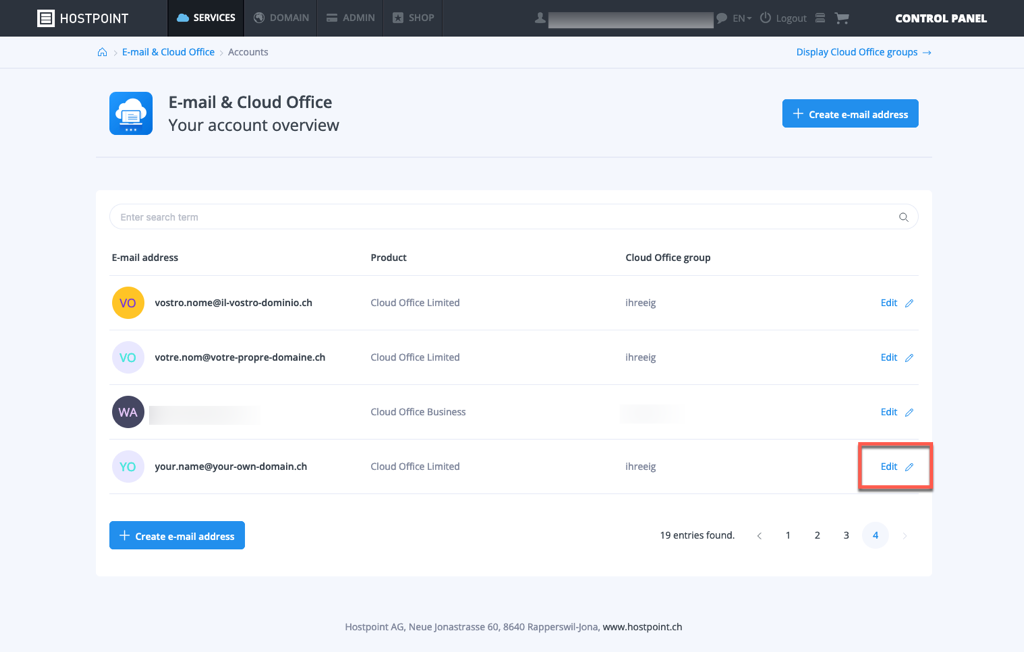
The overview shows all e-mail addresses that you have created. Click on “Edit” next to the desired e-mail address.
Now select the menu item “Automatic response” and you will see any active out-of-office notifications, if any.
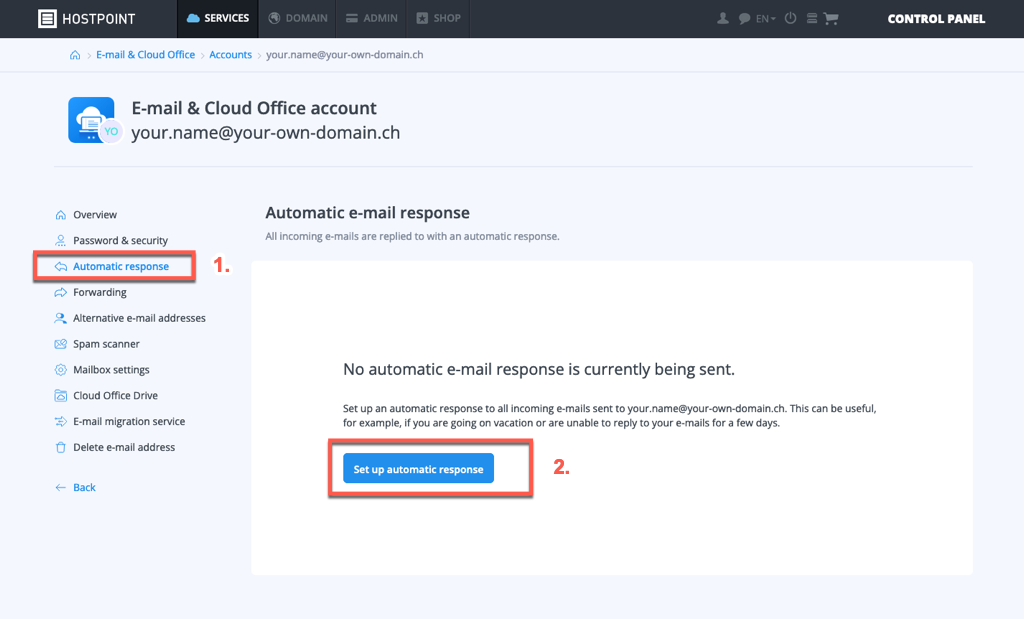
Under “Set up automatic response”, the option to enter the desired out-of-office notification will open. You can activate this either immediately or at a later date.
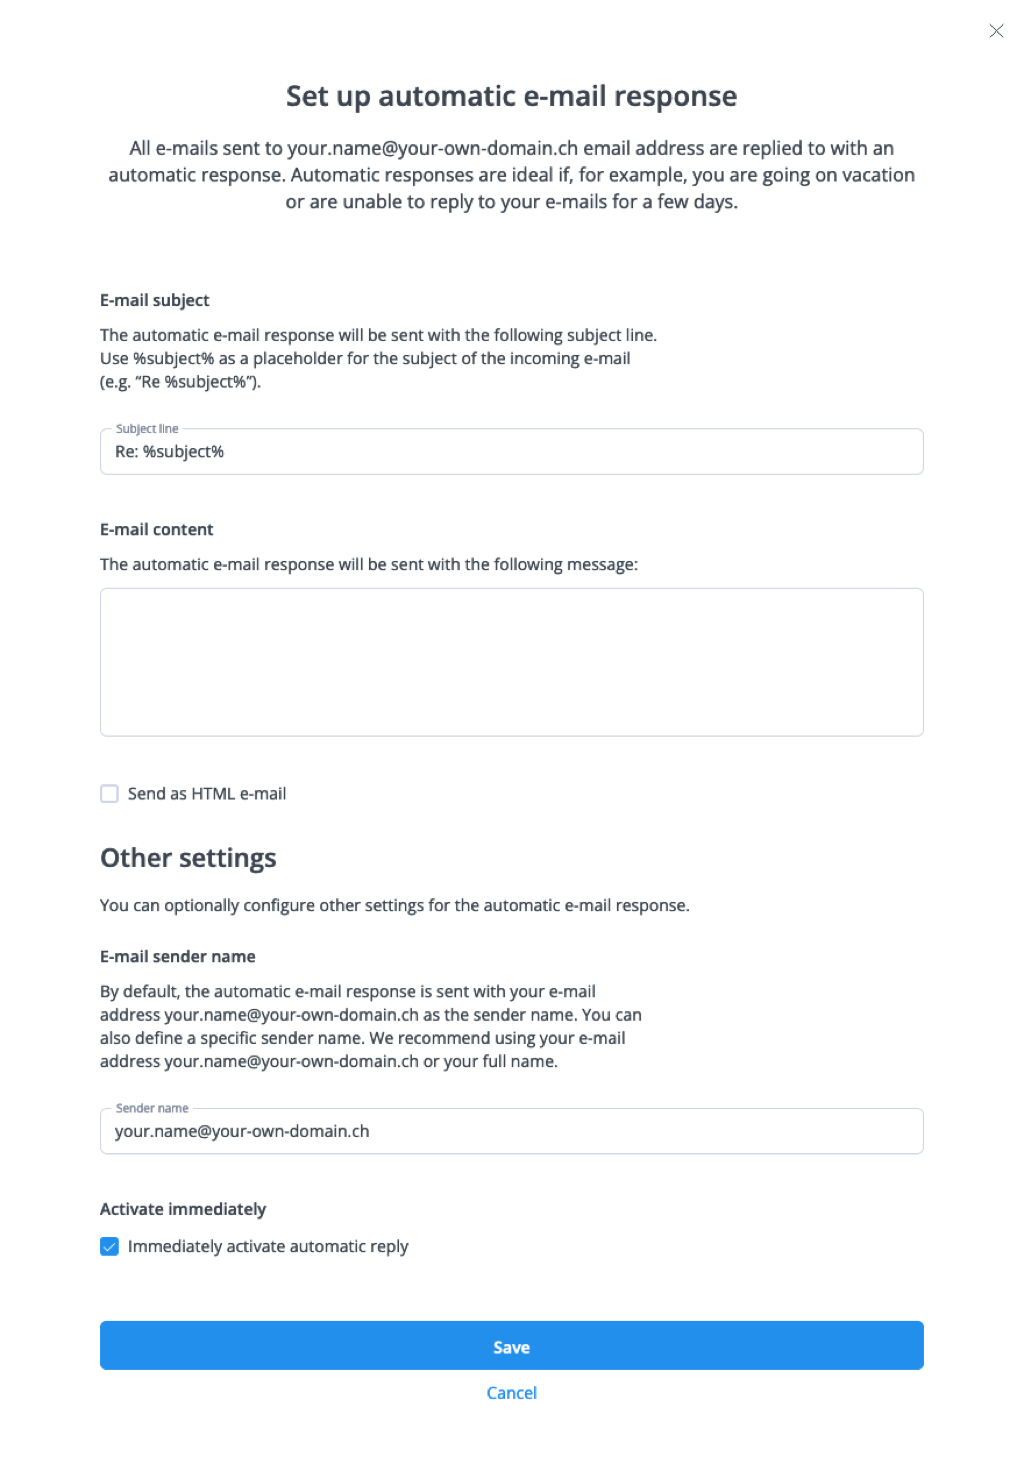
Click “Save” to save the automatic response.
You can then choose to set an end date for the automatic response in the overview at the bottom.

In Cloud Office
You can easily create an out-of-office message in the form of an automatic response. To do this, follow these steps:
Log in to Cloud Office at https://office.hostpoint.ch/ with your e-mail address and click on the gear icon top right. From here, select “Settings”.

Now select “E-mail settings” on the left and you will see all the settings available for your e-mail account.
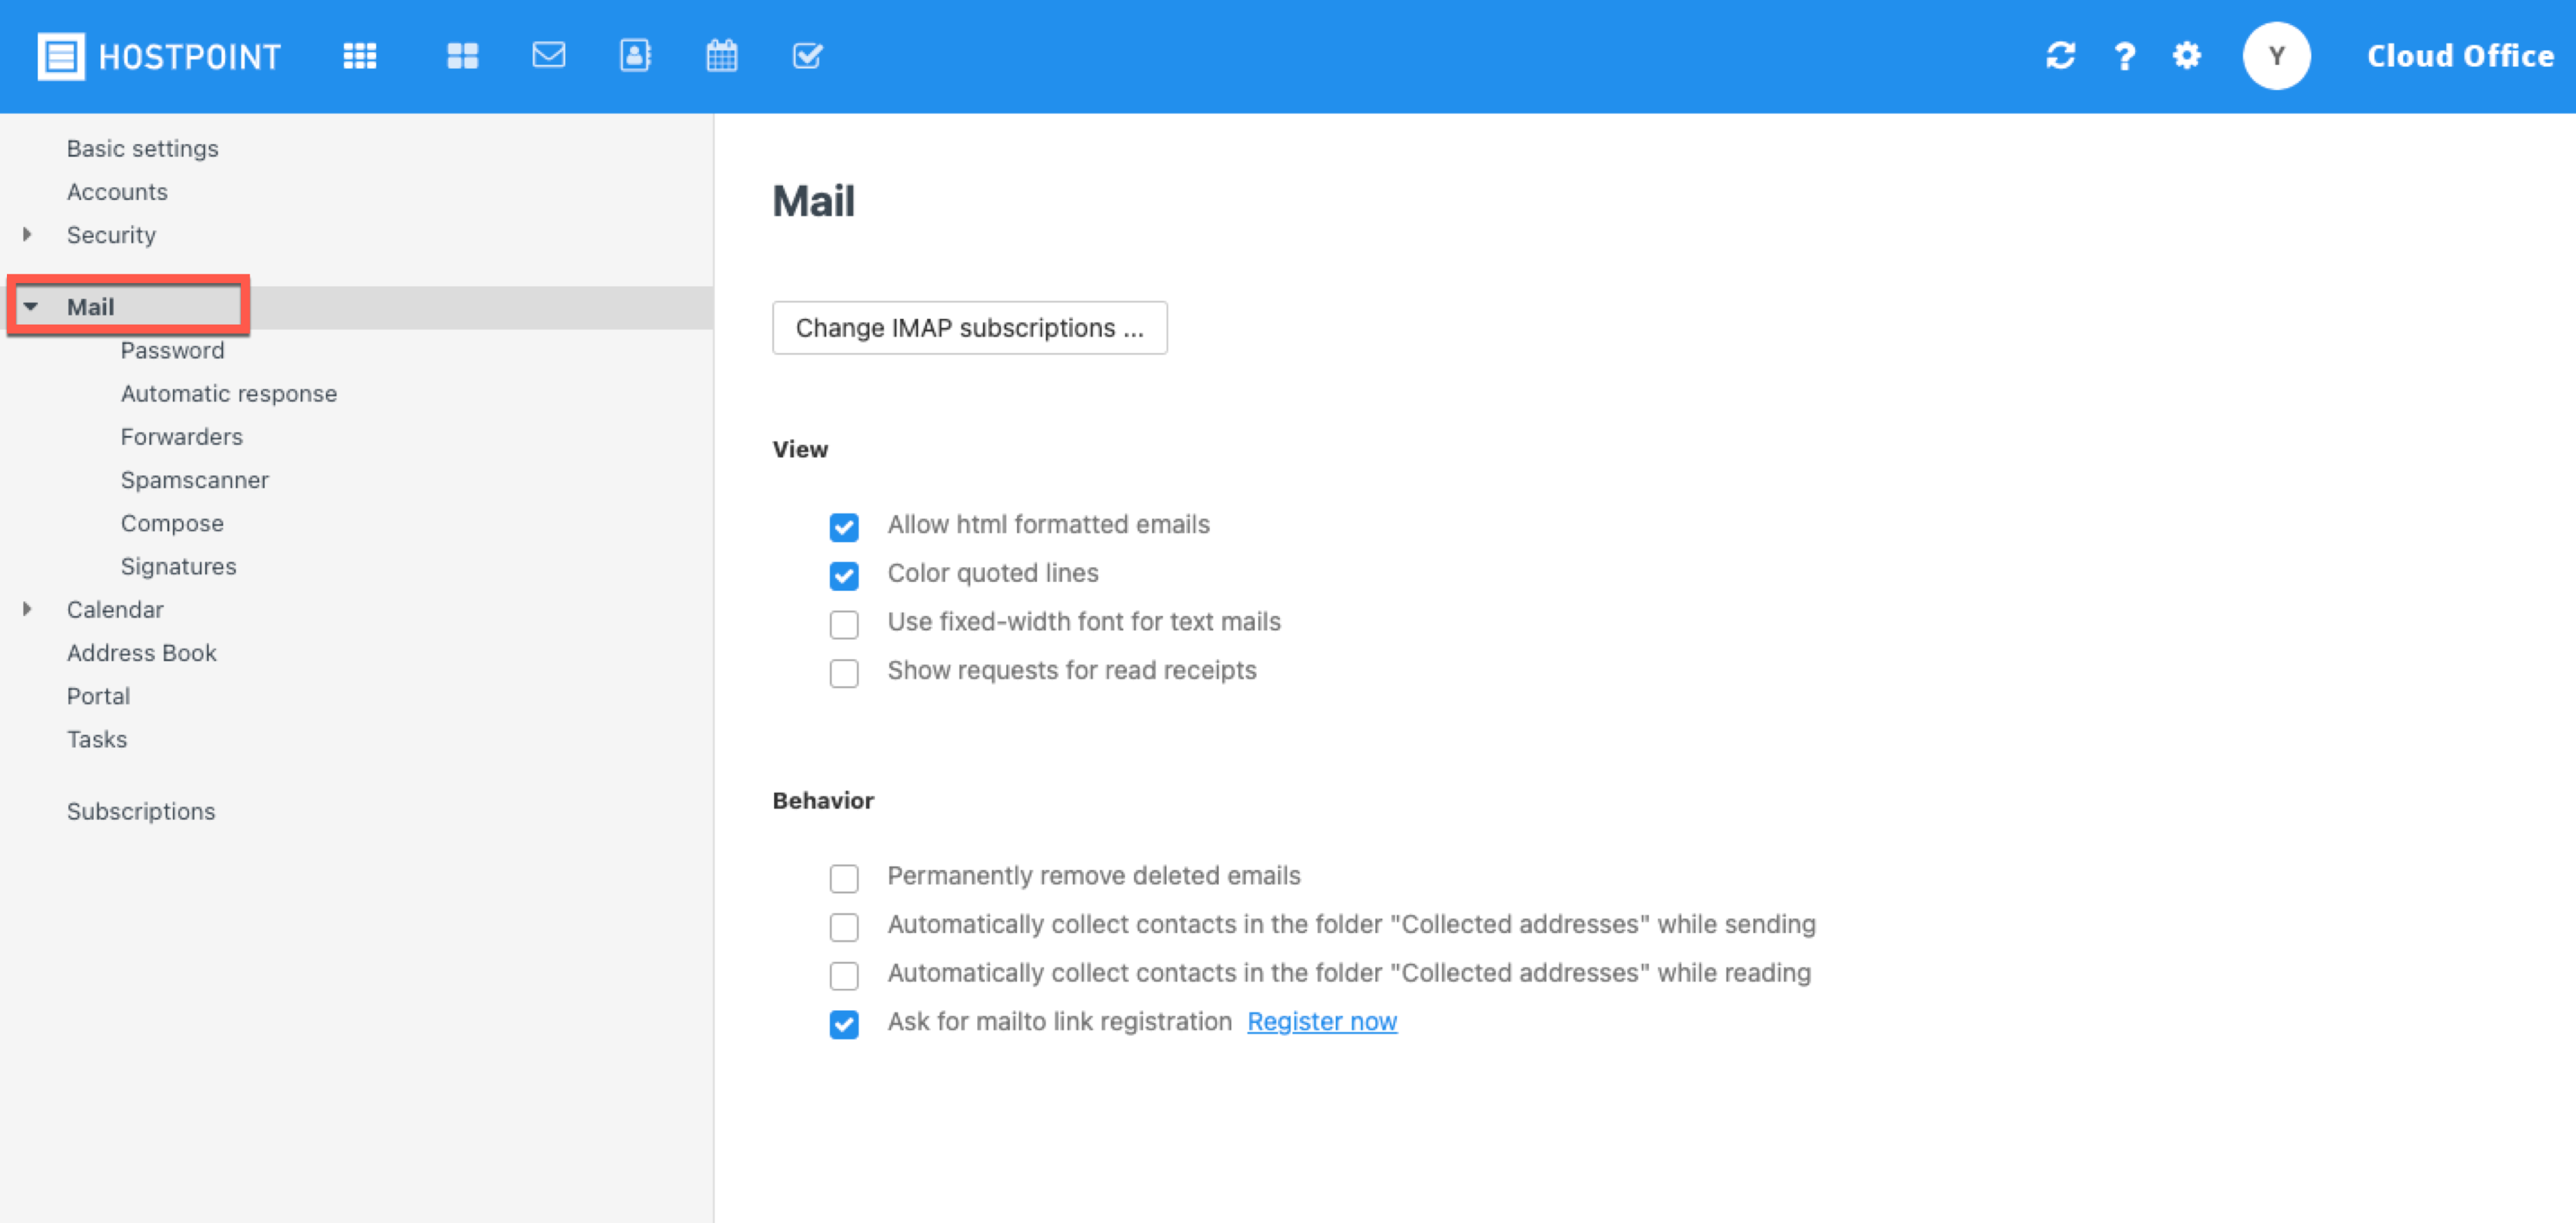
Now select the menu item “Automatic response” and you will see any active out-of-office notifications, if any.
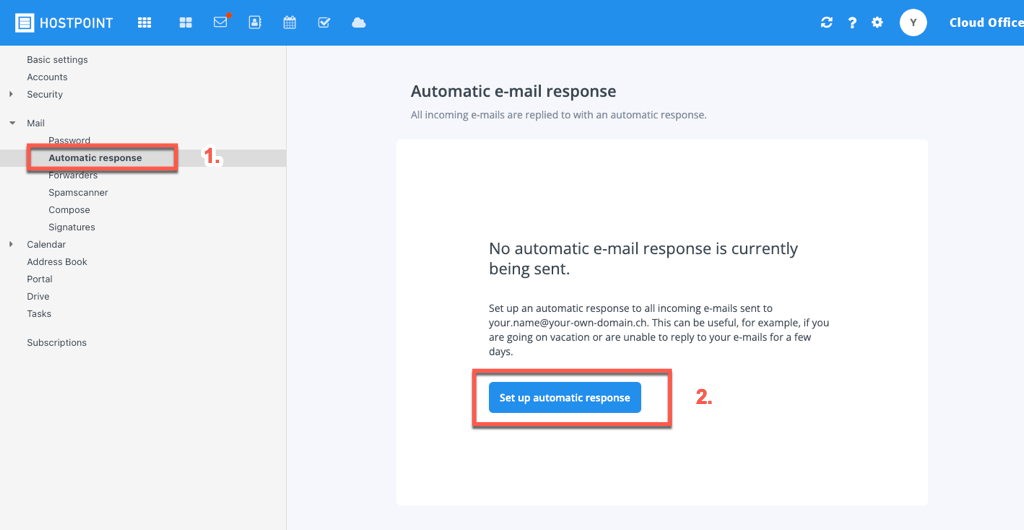
Under “Set up automatic response”, the option to enter the desired out-of-office notification will open. You can activate this either immediately or at a later date.

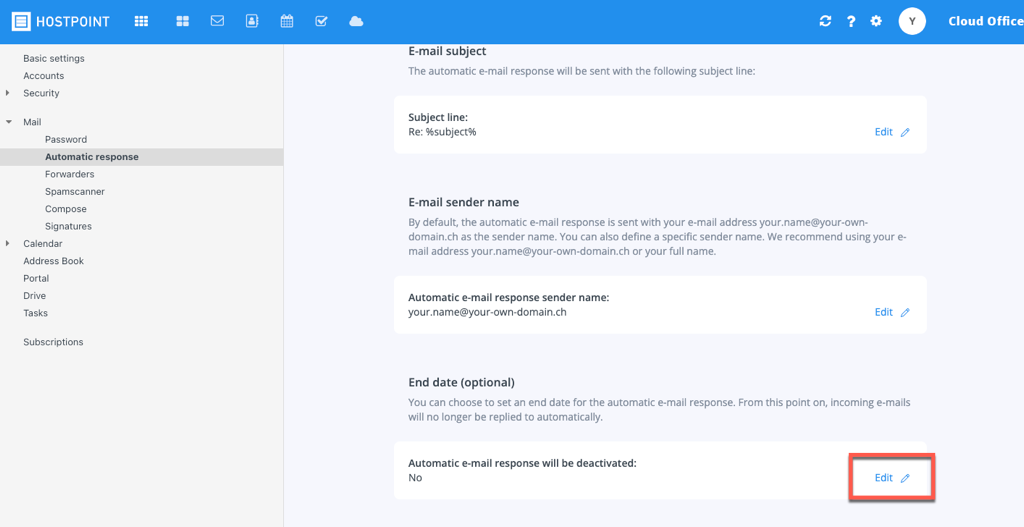
Click “Save” to save the automatic response.
You can then choose to set an end date for the automatic response in the overview at the bottom.
For support requests please use this form instead.