")
")

To keep your email program usable despite the flood of advertising messages, you can let the spam scanner automatically scan incoming messages for the typical characteristics of unpopular spam mails.
Depending on the result and the settings of the spam scanner, detected spam mails will be specially treated.
How does the spam scanner work?
In order to assess the possibilities and limitations of the spam scanner, it is useful to get to know its working method.
The spam scanner is a piece of software. This fact immediately reminds to the most important point that we must always keep in mind: Software is only as good as the idea behind it. This is especially important for such difficult tasks as the interpretation of arbitrary contents of E-Mails.
The rules and their weighting are such that errors are only expressed as unrecognized spam mails («false negatives»). Nevertheless, in rare cases it can happen that «good» mails (ham) are incorrectly classified as spam («false positives»).
An E-Mail message is scanned according to various rules. For each test that is positive, the message receives a certain number of points, which are cumulated. If the number of points exceeds a certain critical number after all tests have been completed, the message is classified as spam.
Examples of such spam tests are:
- Does the subject of the E-Mail consist only of capital letters?
- Does the E-Mail have no message text but only an image attached?
- Are there known spam URLs in the body of the message?
- Are parts of the E-Mail header obviously forged?
If only one or two tests are positive, the message usually does not get the necessary score to be recognized as spam. This prevents, for example an inadvertently chosen subject consisting only of capital letters from turning the message into spam.
Change the spam scanner configuration
We use the open source solution SpamAssassin for our spam scanner. This offers a wide range of configuration options. You can set several of these yourself in the Control Panel.
To do so, go to the menu item “E-mail” or open “E-mail & Office”. You can then change the settings for the corresponding e-mail address here.
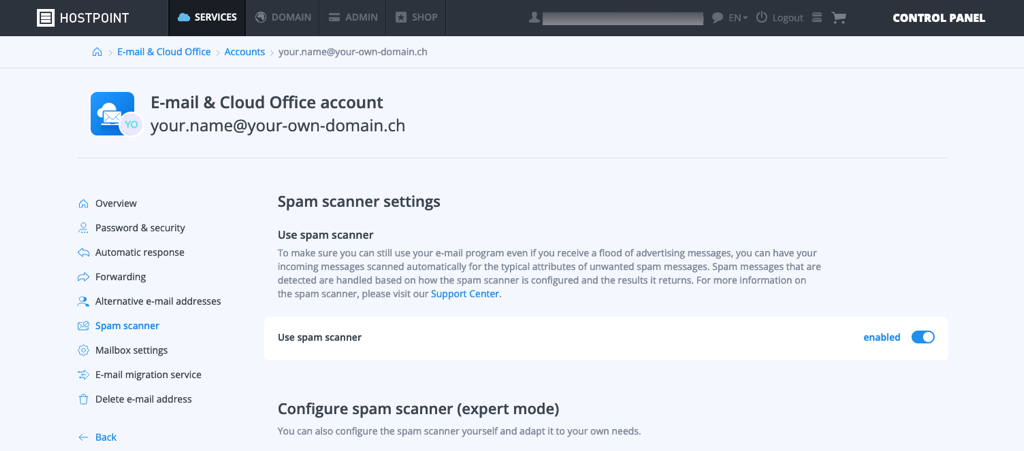
Select the menu item “Spam scanner” to adjust the settings of your spam scanner.
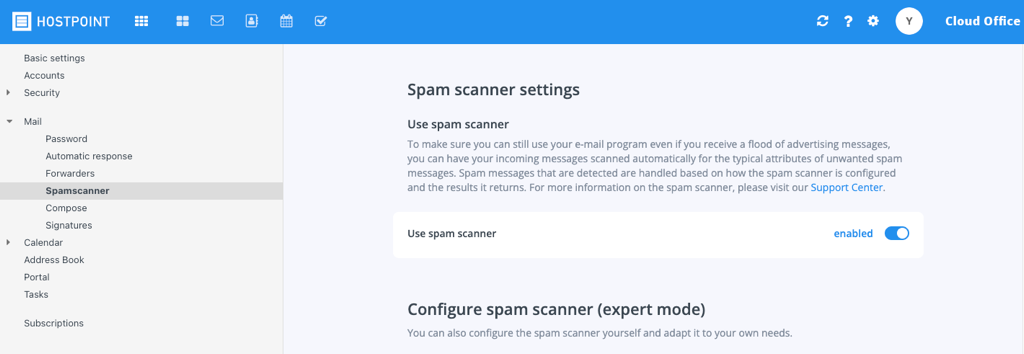
If the “E-mail settings in Cloud Office Mail” function is enabled, you can also change the settings directly via our Cloud Office Mail interface.
Threshold value for spam points (required_score)
You can set the threshold above which the message will be classified as spam.
The deeper you choose it, the more sensitive the spam scanner becomes. However, this also increases the risk that real mails are recognized as spam.
On the other hand, if you increase the threshold value, the risk of false positives decreases, as does the detection rate of real spam mails.
Marking of messages in subject (rewrite_header subject)
If a message has been detected as spam, you can mark it in the subject line. This will precede the existing subject with the string you specified.
You can also use the following keywords in addition:
| _HITS_ | Will be replaced by the number of achieved Spampoints |
| _REQD_ | Is replaced by the currently set threshold value. |
Define sender addresses as spam
If you frequently receive unwanted (advertising) mails from certain addresses, but these are not recognized by the spam scanner, you can add the sender to your own list of blocked senders.
You can either enter complete E-Mail addresses or use the wildcards «*» and «?»:
| abuser@example.com | All E-Mails from sender « |
| *@example.com | All E-Mails from any sender of «@example.com» will be treated as spam. |
| ?.?@example.com | All E-Mails from E-Mail addresses that match the pattern «(letter).(letter)@example.com» will be treated as spam. |
Define sender addresses fixed as «not spam»
You can add senders to your list of trusted senders using the same system.
E-Mails from these addresses will never be declared as spam, regardless of the results of the spam tests.
Move detected spam E-Mails to the Spambox
If you have activated the spam scanner, you can activate the «Spambox» in your control panel.
E-Mails identified as spam are not delivered to your inbox, but to a subfolder, the so-called Spambox.
You can control the content of your spambox via Cloud Office or access it directly via IMAP.
Additional information
More information about SpamAssassin can be found:
- On the project page of SpamAssassin
- In the SpamAssassin article at Wikipedia
For support requests please use this form instead.